Since July 6, 2023, Atlassian has no longer been used for Release Notes or knowledge base articles.
* Find Release Notes here (https://support.mycontactcenter.net/app/articles/detail/a_id/23378/) and articles here (https://support.mycontactcenter.net/app/main).
* Authenticated Partners can access content here (https://support.mycontactcenter.net/cc/sso/authenticator/oauth/authorize/imcontrolpanel?redirect=main&source=mycontactcenter)
Creating a Template
- Former user (Deleted)
To create a signature template:
- Open a new document in any word processor program (e.g. Microsoft Word).
- Once the template is created, save the document to a local file. You have the option of saving the document in Plain Text Format, Rich Text Format (RTF) or HTML. If your template contains pictures or special formatting options, use HTML format.
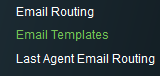
- Sign in to the Administrator Portal and from the Navigation Pane select Email Template.
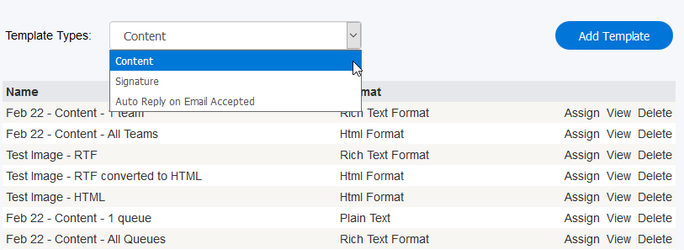
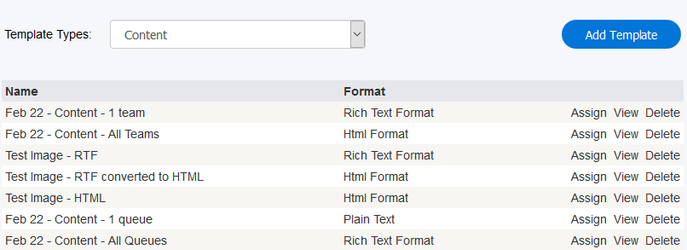
4. From the Template Types drop down menu, select the appropriate template type: Content, Signature or Auto Reply on Email Accepted. Content is for the body of the email while Signature is for the signature that will be applied to the end of the email. Auto Reply on Email Accepted is for creating a template to use when sending out auto reply emails to customers.
5. Click New Template. A New Template window will open.
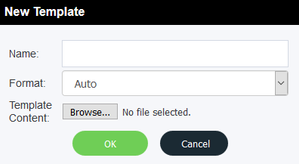
6. Type a name for your template in Name field.
7. Use the Format drop down menu to select the format of the file you are about to upload.
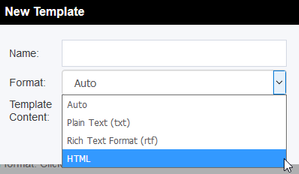
The different formatting options that are available to use are:
- Auto – The CCA will automatically detect the type of format the template your are uploading is.
- Plain Text (txt) – Is text with no pictures or symbols. For more information on Plain Text formatting, see here.
- Rich Text Format (rtf) – Text with images or special formatting, etc. For more information on Rich Text formatting, see here.
- HTML – Used with text to show images or even more advanced format settings, such as tables and diagrams,etc. For more information on HTML email formatting, see here.
Note: Auto Reply on Email Accepted can only be formatted in HTML, and therefore the drop down menu will not open when creating that kind of template.
8. Click Choose File and locate the file on your computer.
9. Click Open and the name of your file will appear in the New Template window.
10. Click OK to upload the file.
11. Once uploaded, the template will be listed on the Email Templates page. It is now available to all your agents.
12. All existing templates are listed in the table.
13. To review a template, click the View link corresponding to that template. This will download the template in its original format which can be opened in your word processor.
Related content
Since July 6, 2023, Atlassian has no longer been used for Release Notes or knowledge base articles.
* Find Release Notes here (https://support.mycontactcenter.net/app/articles/detail/a_id/23378/) and articles here (https://support.mycontactcenter.net/app/main).
* Authenticated Partners can access content here (https://support.mycontactcenter.net/cc/sso/authenticator/oauth/authorize/imcontrolpanel?redirect=main&source=mycontactcenter)