Since July 6, 2023, Atlassian has no longer been used for Release Notes or knowledge base articles.
* Find Release Notes here (https://support.mycontactcenter.net/app/articles/detail/a_id/23378/) and articles here (https://support.mycontactcenter.net/app/main).
* Authenticated Partners can access content here (https://support.mycontactcenter.net/cc/sso/authenticator/oauth/authorize/imcontrolpanel?redirect=main&source=mycontactcenter)
Adding Exception Dates
- Larry Brown (Deactivated)
- Karla Melendez
- Jela Banovic (Deactivated)
Exception dates can consist of holidays, extended hours, or corporate event dates. These are dates where your Contact Center might have shortened hours. The dates added here determine when a caller is sent to the call flow implemented for a holiday or exception date.
To add Exception Dates
- Follow the instructions for accessing the Schedule Details page as outlined in Editing an Existing Working Hours Schedule.
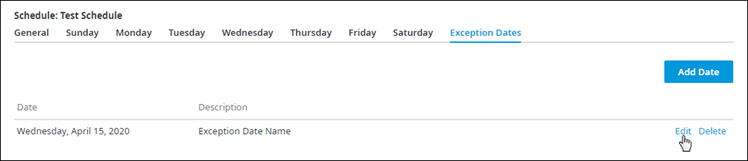
- Click the Exception Dates tab.
- If no dates have been added, a red-colored note reading No exception date has been created appears.

- Otherwise, information for the exception dates appears.

- If no dates have been added, a red-colored note reading No exception date has been created appears.
- Click Add Date. The Add Exception Date dialog bo appears. Do the following:
- Name: Enter a name for the exception date.
- Date: Enter a date the exception should take place.
- Click OK when done.
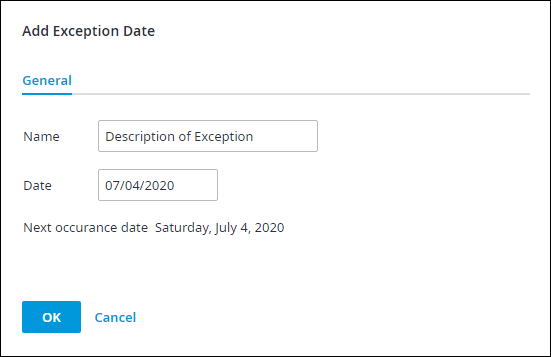
The message at the bottom of the dialog box indicates which exception date is coming up, along with the date of occurrence. For example, if an exception date is created for the current date, the exception date will take effect on the current date during the time it is scheduled, but the message will indicate that the next occurrence date is the following year. However, if the exception date is created the day before it occurs, the next occurrence date will be the following day. Currently, re-occurrence is on an annual basis.
The exception date appears listed in the Exception Dates tab.
To finish setting up the exception date
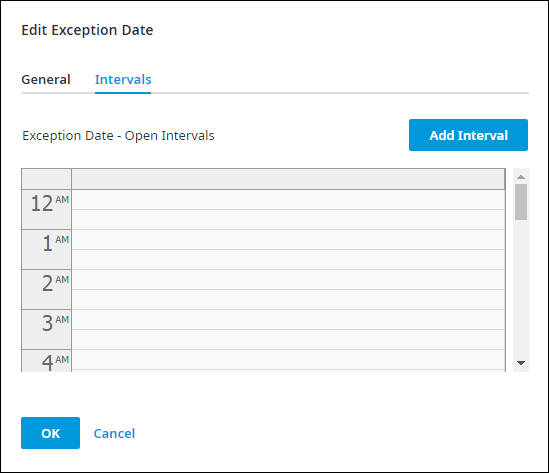
- Click Edit next to your new Exception Date entry.
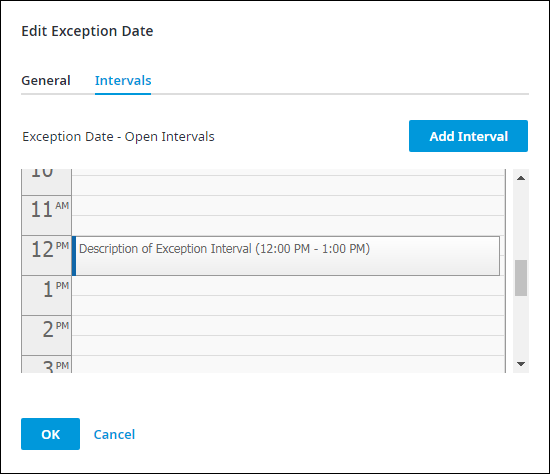
- The Edit Exception Date dialog box appears. Select the Intervals tab to access the hourly schedule.
- If this is a new exception date, the schedule will be blank. Otherwise, information for working hours appears.
- If this is a new exception date, the schedule will be blank. Otherwise, information for working hours appears.
- Click Add Interval to start adding your Contact Center's working hours for the selected exception date.
- In the Add Interval dialog box that appears, enter the following:
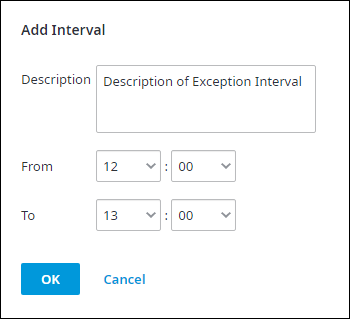
- Description: Enter a description for the exception date.
- From: Select the start time for the interval using the 24-hour clock.
- Enter the hours in the first box and the minutes in the second box.
- To: Select the closing time for the interval using the 24-hours clock.
- Enter the hours in the first box and the minutes in the second box.
- Click OK when done. The configured interval appears on the page.
- Repeat for as many intervals as you need.
- When done, return to the General tab and click Update to go back to the Working Hours page.
Important: Always click Update to ensure times and dates are saved and the Working Hours schedules are updated.
Related content
Since July 6, 2023, Atlassian has no longer been used for Release Notes or knowledge base articles.
* Find Release Notes here (https://support.mycontactcenter.net/app/articles/detail/a_id/23378/) and articles here (https://support.mycontactcenter.net/app/main).
* Authenticated Partners can access content here (https://support.mycontactcenter.net/cc/sso/authenticator/oauth/authorize/imcontrolpanel?redirect=main&source=mycontactcenter)