Here you can define settings relating to the chat window, such as displaying a logo or adding background, text, or chat message colors. You can also select whether you want to display an agent profile picture in the customer Chat Window for the selected queue.
Note
This Styling tab is applicable for new chat queues. Existing chat queues default to the previous Styling tab. For more information about the old Styling tab, see Styling Tab (Webchat v1.0)

- Agent picture: Select how to display the agent's picture, if it is to be shown at all.
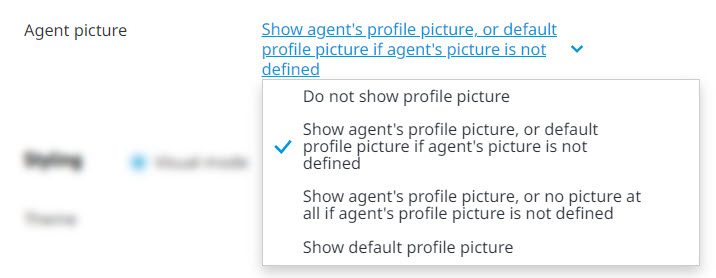
- Do not show profile picture: No profile picture appears for the agent.
- Show agent's profile picture, or default profile picture if agent's picture is not defined: Shows the agent's profile picture if one has been defined. Otherwise, a pre-defined default picture is shown.
- Show agent's profile picture, or no picture at all if agent's profile picture is not defined: Shows the agent's profile picture if one has been defined. Otherwise, no picture is shown
- Show default profile picture:Shows a pre-defined default picture.
Styling Area
You can configure the chat window using two modes: Visual and CSS.
Visual Mode
This mode allows to configure the chat window easily, and you can immediately preview any changes you make.
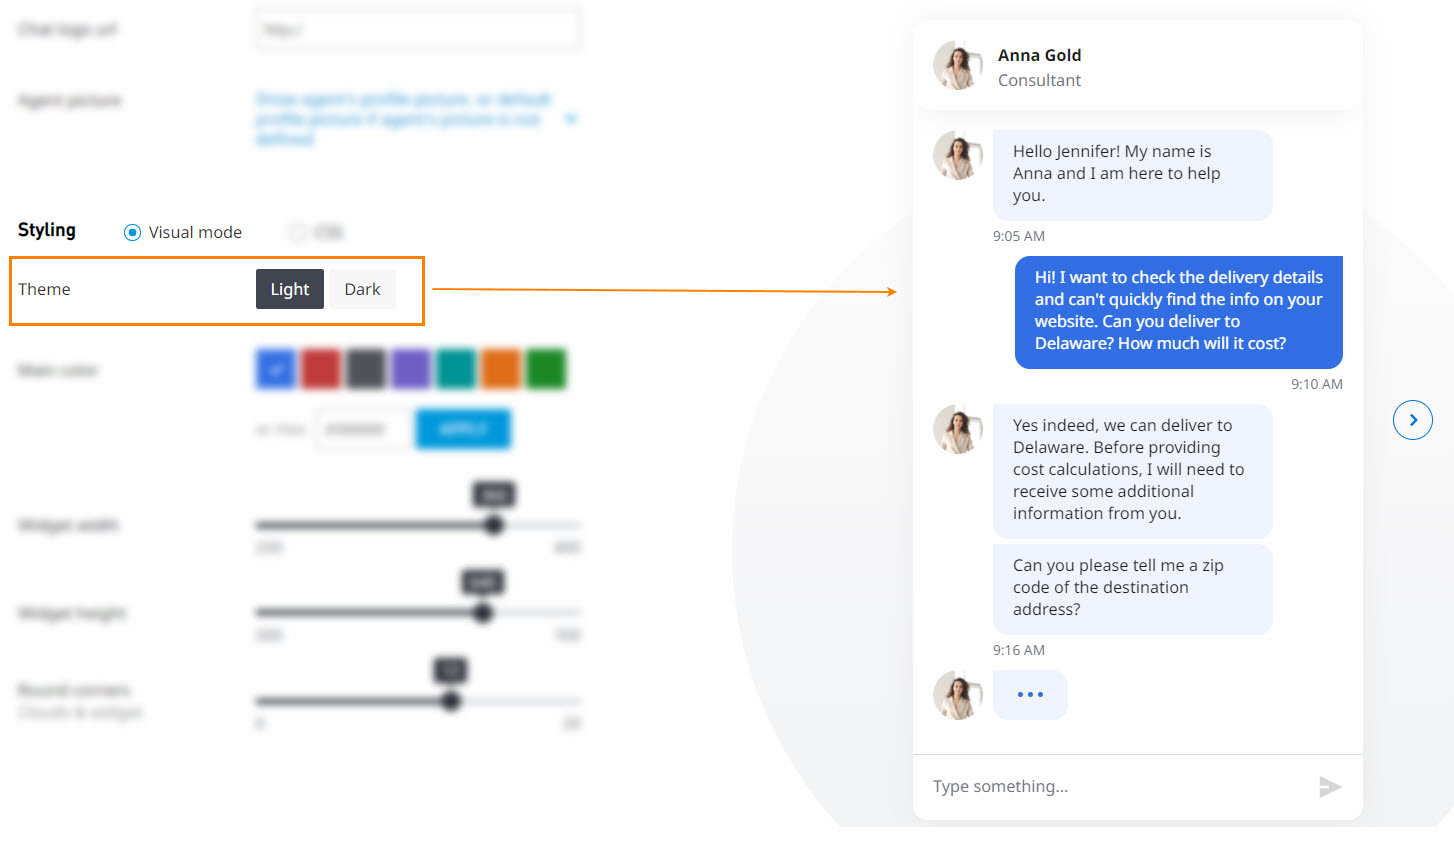
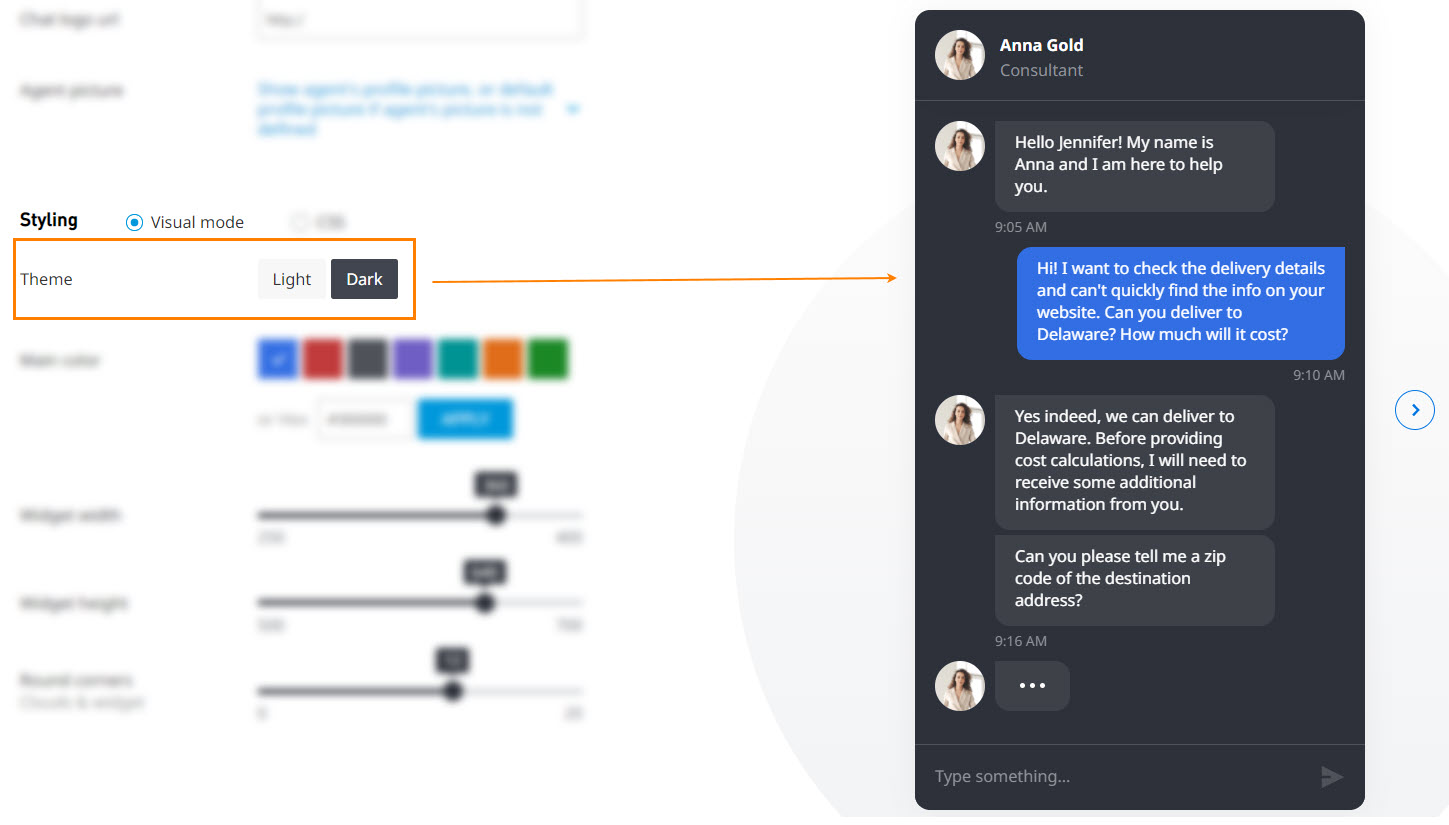
- Theme: Choose Light or Dark to make the window's background a light or dark color.
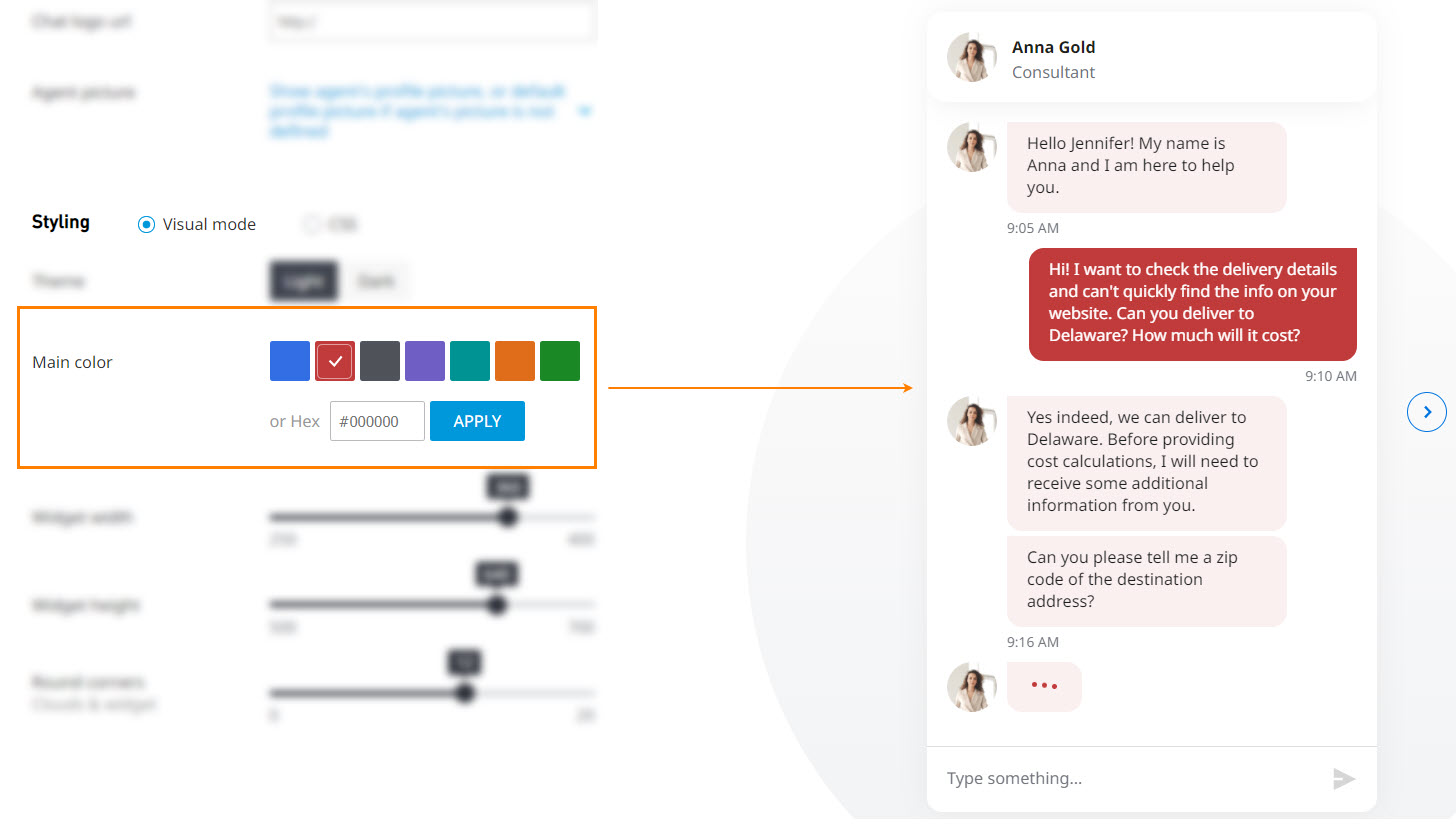
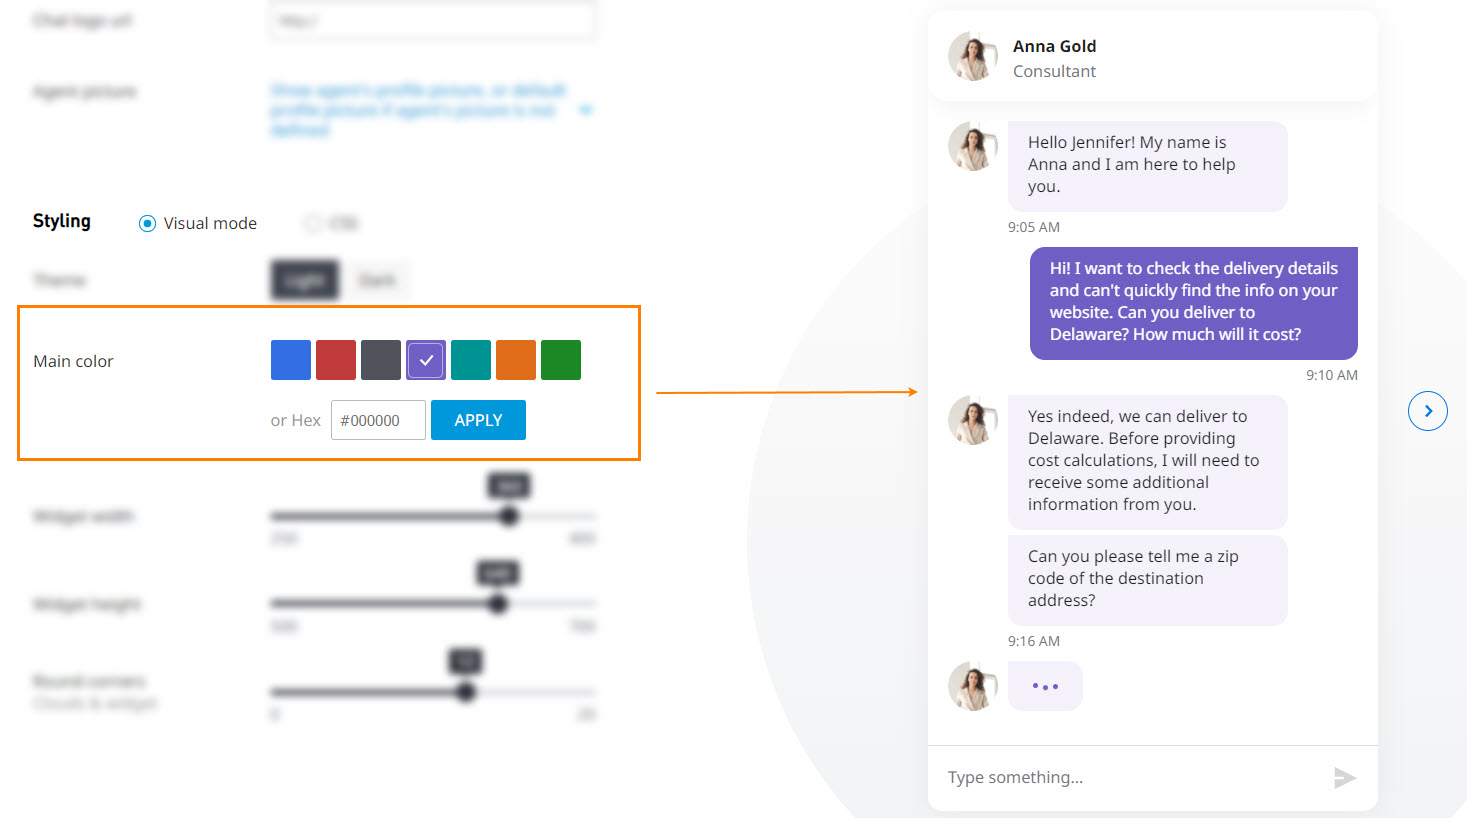
- Main Color: Choose a theme from the seven preset colors, or enter the hexadecimal value of the color you prefer.
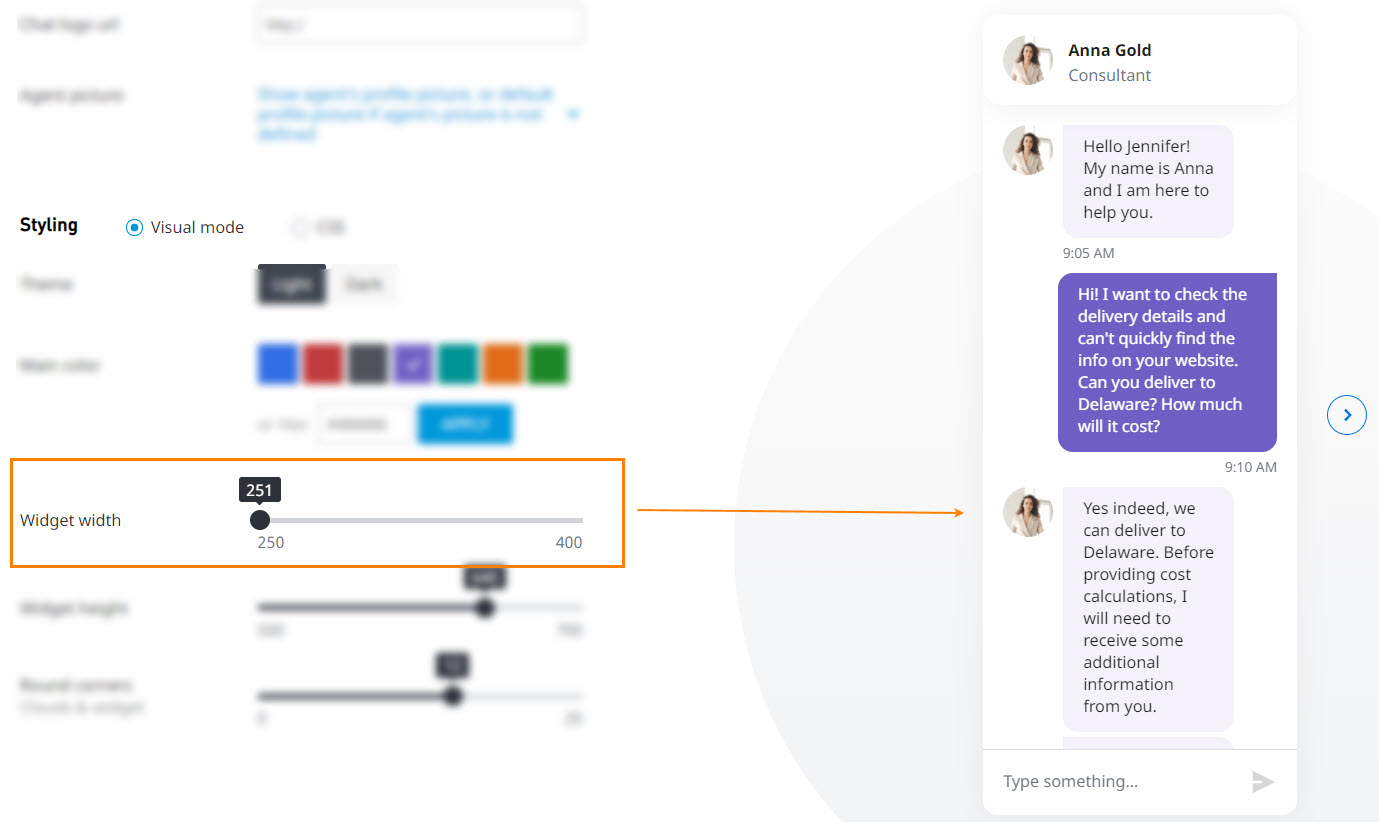
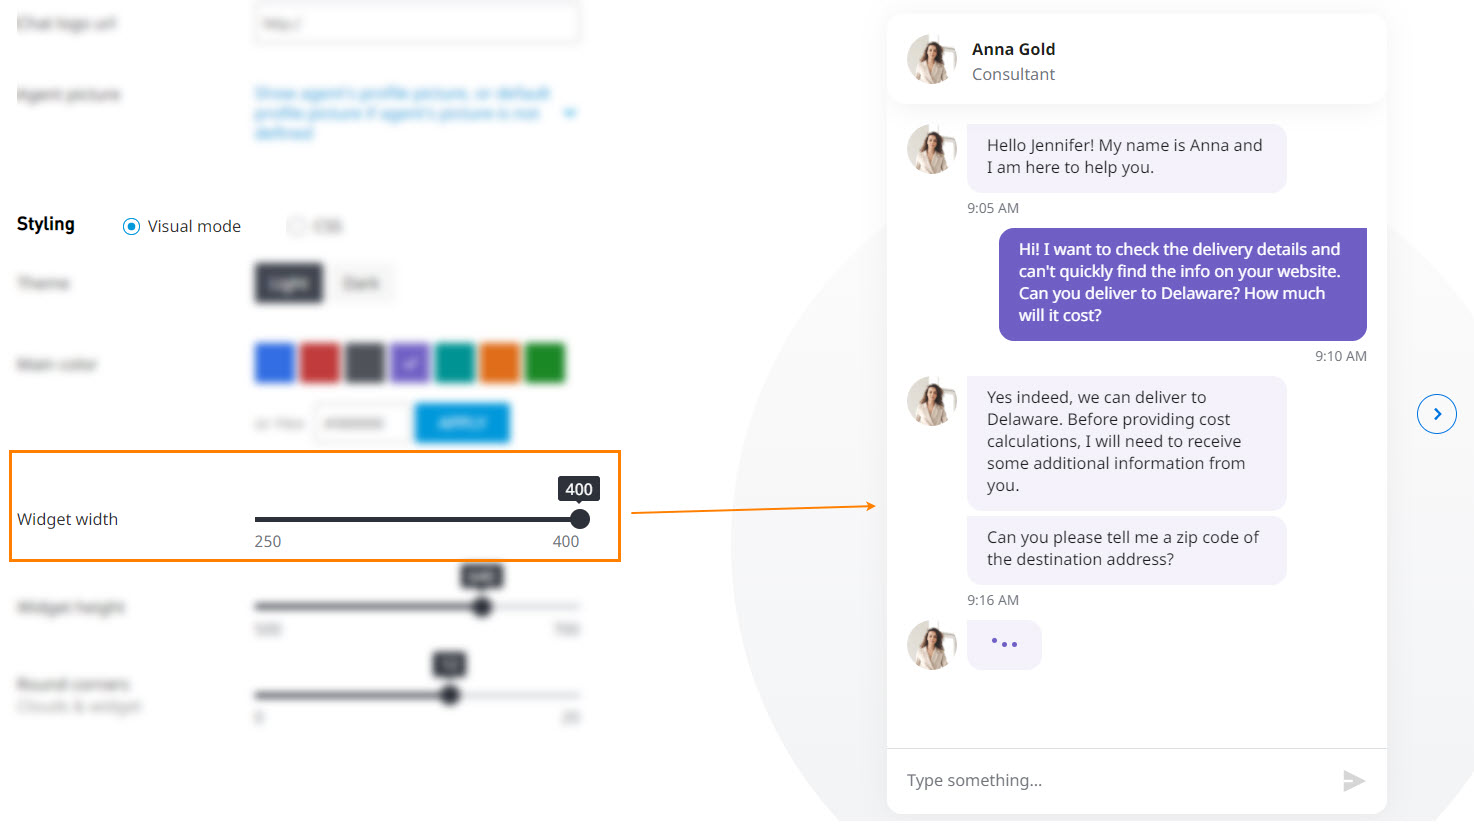
- Widget Width: Choose how narrow or wide you want the window to be. The values range from 250 to 400 pixels.
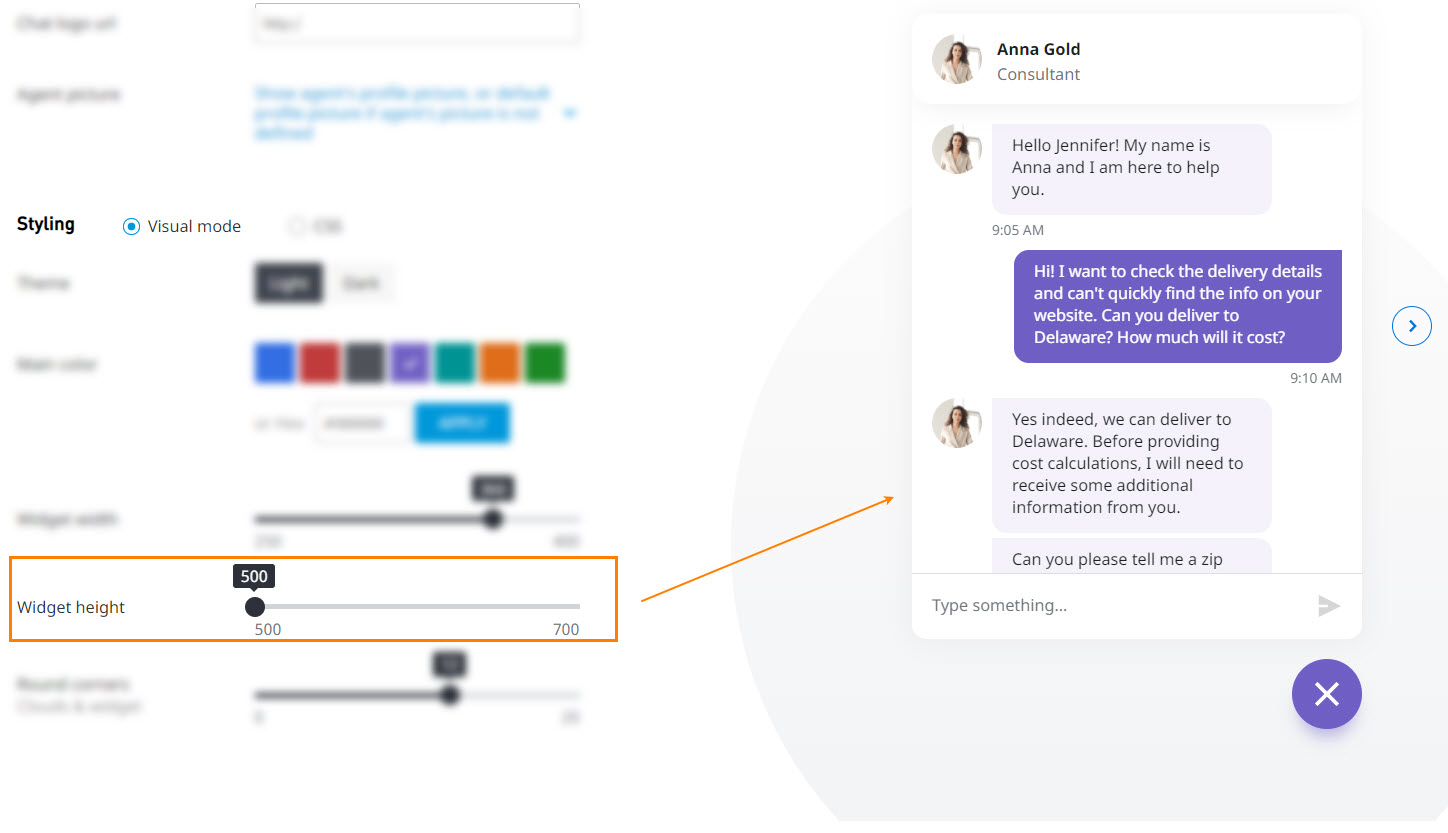
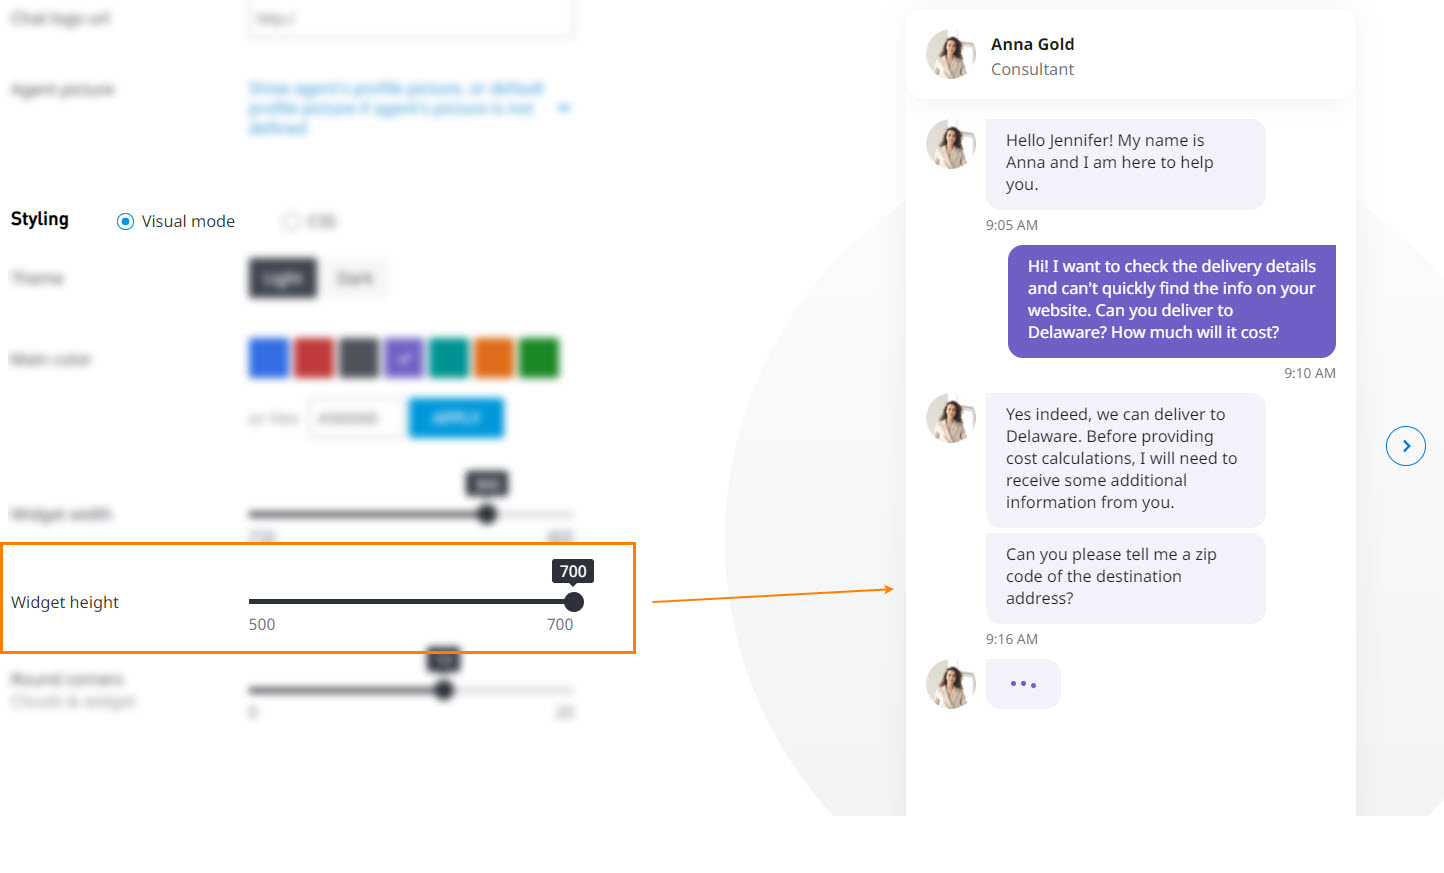
- Widget Height: Choose how short or tall you want the window to be. The values range from 500 to 700 pixels.
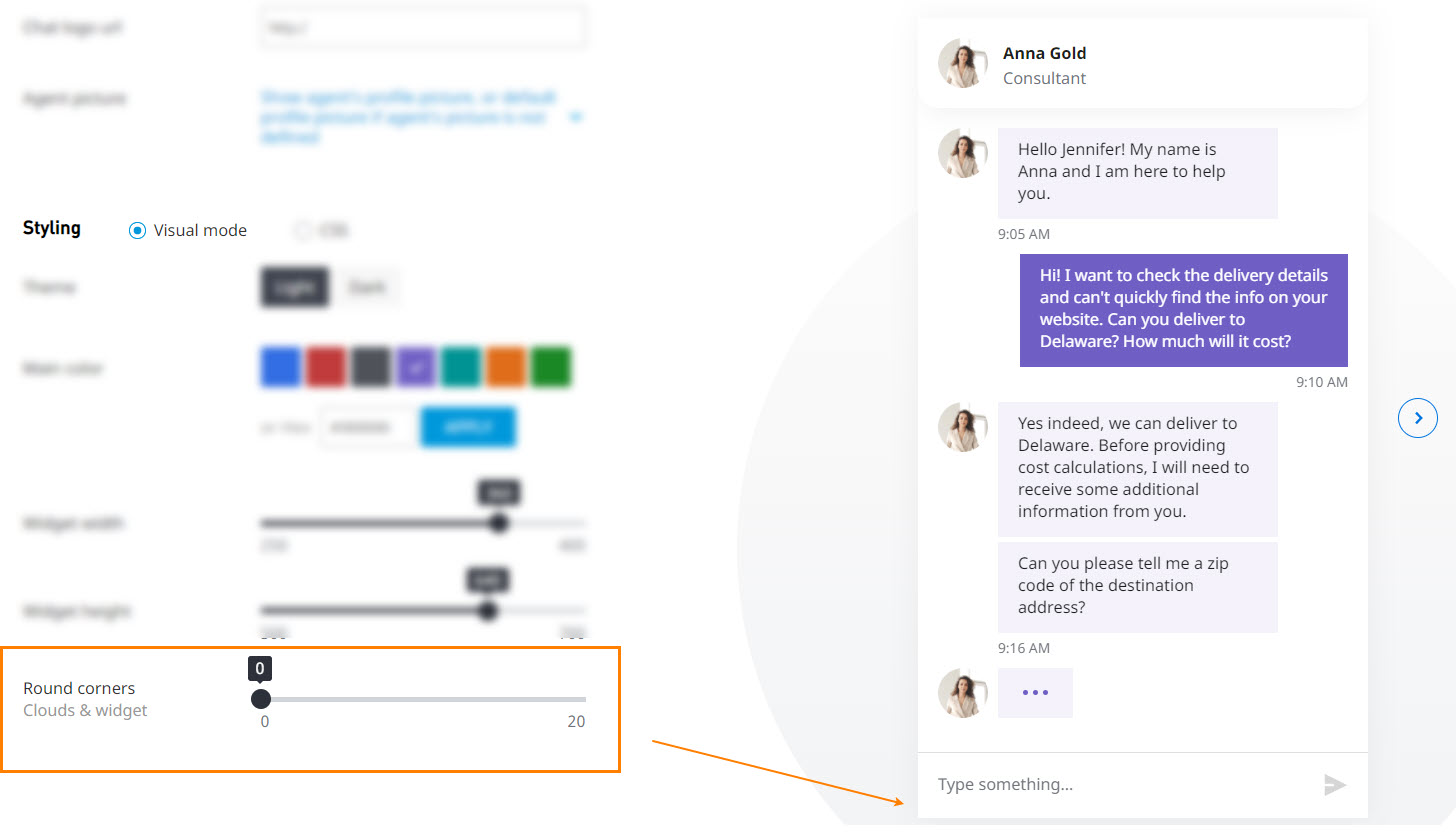
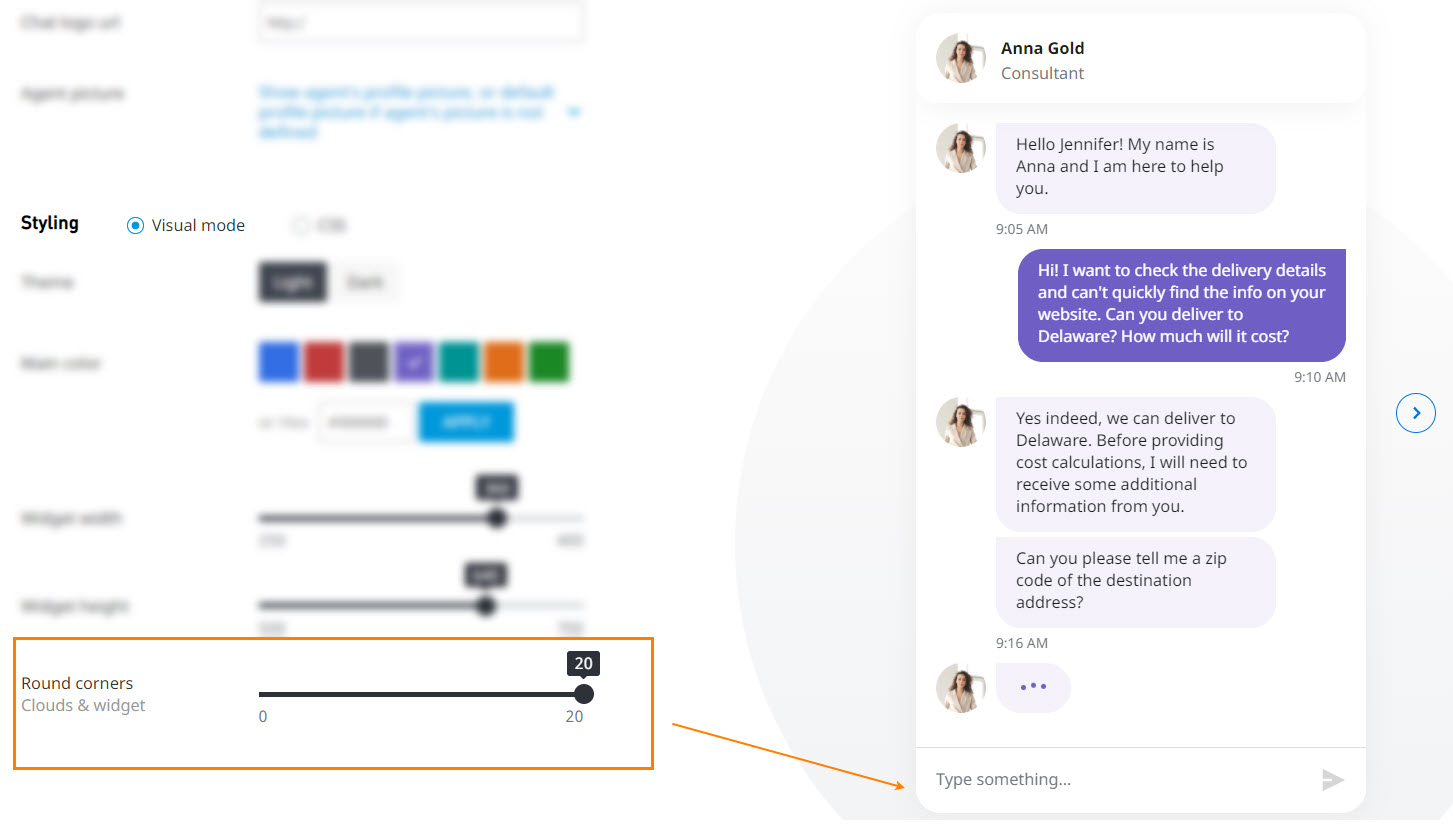
- Rounded Corners: Choose how rounded you want the window's corners to be. The values range from 0 to 20 pixels.
You may also define what the chat window border style and the size will be when presented for customers.The chat window border style can be set as non, hidden, dotted, dashed, solid, double groove, ridge, inset, outset, initial, or inherit. All available options for the CSS border style property can be used; click here for all styles available. Along with setting the style of the border, you can set the chat window border width, in pixels (px), as well as the border color. Colors can be specified in any of the following formats: by Name, RGB code, or HEX code. For further information on colors see Colors Tutorial, a list of HTML Color Names that are supported by all browsers, RGB Color Calculator for RGB color codes and HEX Color Calculator for HEX color codes.
If no values are specified for border style, width, or color, the default settings will be assumed:
- Style = solid
- Width = 1px
- Color = black
Below are a few examples of border style formats accompanied by the chat window appearance outcome:
- 3px solid red = 3 pixels wide, solid, red border
- 5px dotted rgb(255, 0, 0) = 5 pixels wide, dotted, red border
- 1px double #ff0000 = 1 pixel wide, double line, red border
Dimensions for the chat window may be entered in either pixels or percentages, and may be made as small or as large as you wish, however there are a few recommendations for the chat size window:
- If you are using percentages for your chat window, that chat will not be displayed properly if you make it any less than 75%.
- Do not set the chat width below 400px, this can cause the containers (DIV) do not show properly all the information within them.
- Do not set the chat height below 350px. If this happens, the chat-history (area where all the chats messages are placed), will not be shown properly.
To customize a customer's chat experience, you can change the colour of the follwing items displayed in the customer's chat window:
- Chat thread background color – Select a color from the drop down menu; this color will appear as the background color of the client's chat page.
- Agent message background color – Select a color from the drop down menu; this color will appear as the background color in the Agent's message bubble.


The Advanced settings allows for any web programmer to create a custom CSS file to define what the website chat session will look like from the customer's point of view. The file can be created in any text editing application, such as Notepad, but must be saved as a .CSS file with UTF-8 encoding.

Once the file has been created, click Browse to locate the .CSS file that has been created. Click Open to select that file and then click the Upload button. This will upload your custom .CSS file to be used for customer chat sessions.
If you wish to see the file you have uploaded, click the Download button and select in which format you wish to view the template in. It is important to note that if you wish to make any changes to your template you must create a new file and upload it. You can not edit the template at this level once it has been uploaded.

Once you are satisfied with the file you have uploaded, click Update to save and apply all changes to the customer chat windows.
Note: It MAY take a few minutes for your new styling to take effect. If you do not see your new styling right away, try opening a chat session in 5-10 minutes.