...
- Copy and paste the provided Reactive Chat URL into the address bar of a new browser and press Enter on your keyboard.
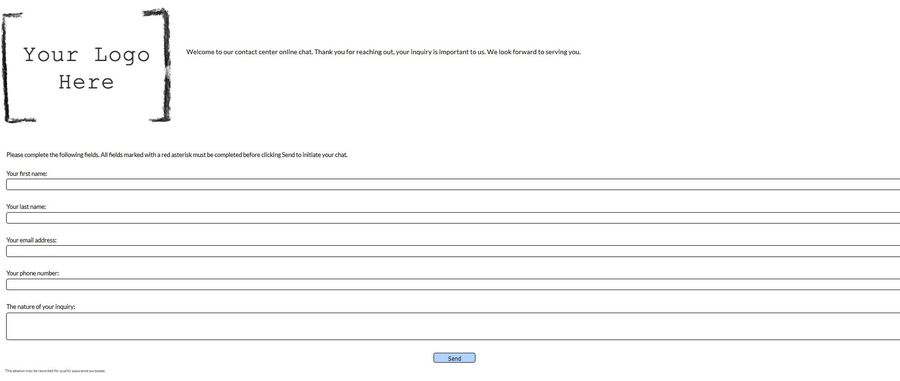
- The Reactive Chat window appears. If you have enabled Data Collection for the reactive chat, the customer is presented with a Customer Data Collection Information screen, wherein the customer must complete all required fields; required fields are marked with a red asterisk. If Data Collection for reactive chat is not enabled, the customer is automatically transferred into the queue to wait for the next available agent. For a more detailed description on initiating a reactive chat, refer to Initiating Reactive Chat.
To initiate Proactive Chat:
- You must first embed the proactive chat application within your website using the provided URL on the General Settings tab. Refer to Proactive Chat for detailed instructions on embedding the chat application within your website.
- Once the application is embedded, visit the website containing the embedded proactive chat application.
- You are presented the Proactive Chat Invite or Proactive Chat window after spending the allotted time specified in the proactive chat launching criteria. For a more detailed description on initiating a reactive chat, refer to Initiating a Proactive Chat.
Once Proactive Chat is activated, you need to determine when you wish for the proactive chat to launch. The Proactive Launch Criteria indicates the duration, in seconds, that the customer must spend on the web page before the proactive chat invite or proactive chat window is presented to the customer.
...