Since July 6, 2023, Atlassian has no longer been used for Release Notes or knowledge base articles.
* Find Release Notes here (https://support.mycontactcenter.net/app/articles/detail/a_id/23378/) and articles here (https://support.mycontactcenter.net/app/main).
* Authenticated Partners can access content here (https://support.mycontactcenter.net/cc/sso/authenticator/oauth/authorize/imcontrolpanel?redirect=main&source=mycontactcenter)
Importing Campaign Contacts Using a Wizard
To import contacts, you must first prepare a .csv (comma separate value) file. The easiest way to do this is to create a file in Microsoft Excel and save it as a .csv file. The file will contain pertinent information about the list of contacts you want to import into your campaign.
Your .csv file must contain the following five mandatory columns with column headers in the first row entered exactly as shown:

- Fullname: The name of the contact.
- externalRefNo: An external reference number of your choosing that is unique to that contact to help identify that specific addition of the contact. For example, it could be used for appointment reminders to differentiate between a contact who might have the same name, phone number, etc, but several appointments, so the external reference number helps to identify this appointment instead of "that" appointment.
- Phone: The telephone number to be used for voice notifications.
- SMS: The SMS-enabled phone number (i.e., mobile phone number) to be used for SMS notifications.
- Email: The email address to be used for email notifications.
If the campaign is configured to set Phone, SMS, or Email entries to be mandatory for contacts and some of those respective fields are left blank, your import will show the errors for the entries where that data is missing. If those respective fields are not set to mandatory in the campaign configuration, the import will be allowed and any contacts notification media with blank information will be set to "Disabled"  status. You must include the externalRefNo column and column header, but the column does not need to include data.
Importing with Parameter Enabled Messaging uses the same import function, but lets you be able to send individual and specific messages to each contact in a campaign without having to enter a message for each contact manually. This is done by importing your .csv file with the relevant data to your campaign. The import replaces details of the message with the words exactly where you want them for each individual contact. For the purposes of this example, we will set up dental appointment reminders using the Dynamic Notification system.
Note: Parameter Enabled Messaging is only compatible with voice campaigns that use the text-to-speech option. If you create a campaign that uses voice recording, you can still use the import wizard, but only the first five mandatory columns will be registered. Any additional columns will be ignored.
To set up a .csv file for parameter-enabled messaging with all data that is relevant to your campaign, first prepare the mandatory five columns in the file (Fullname, externalRefNo, Phone, SMS, and Email). Then add as many columns as you need that are relevant to the campaign. For example, your .csv file might appear as follows:

In the example, the columns that were included after the mandatory ones are: the Doctor with whom the appointment is set up; the Date of the appointment; the Time of the appointment; the Address, Floor number, and Room of the office.
Important
All column headers must be one word. No spaces are allowed.
- Date columns can only use the following formats:
- English: MM/DD/YYYY. For example, 12/10/2017 will be spoken as "December 10, 2017".
- French: DD/MM/YYYY. for example, 10/12/2017 will be spoken as "10 Décembre 2017".
- Spanish: DD/MM/YYYY. For example, 10/12/2017 will be spoken as "10 de Diciembre de 2017".
- You can write the dates in full words; the chosen language will speak them as written.
- Time columns must be in the 12-hour clock format, with AM or PM added after the time. Again, the French and Spanish voices will speak the time in the selected language.
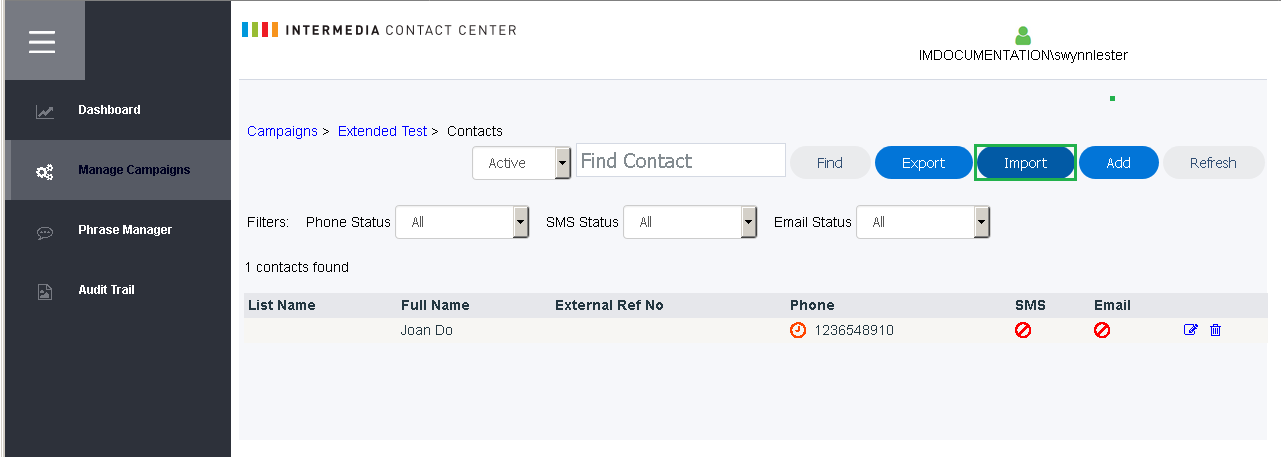
To open the contacts import wizard, click the Import button.
Note
The campaign must still be within its Active Period to allow importing.
You can return to the list of all campaigns or to the current campaign by using the breadcrumb navigation on the top left:
- Click Campaigns to navigate to the list of all campaigns.
- Click the name of the current campaign (e.g., Extended Test in the image below) to navigate to the current campaign.
The Import Campaign Contacts dialog box appears.
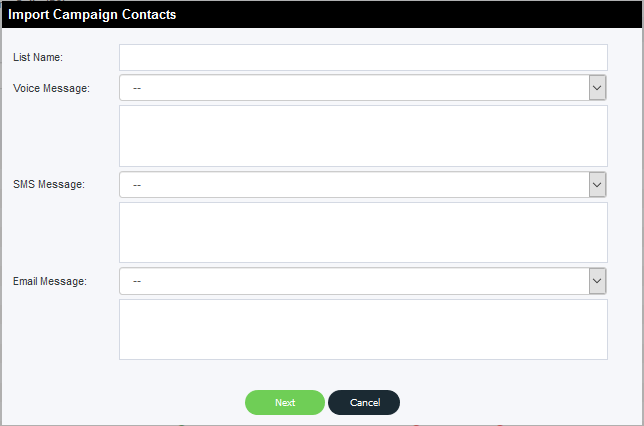
- List Name: Enter a name that will be associated with all of the contacts you are importing at this time. This will allow you to edit or delete only this particular set of contacts, and not all the contacts associated with the campaign.
- Voice Message, SMS Message, and Email Message: Click a phrase from the list of phrases that you created in the Phrase Manager. This is the phrase that the contact will receive by voice, SMS, or Email.
Note: The media needs to be enabled in the campaign to allow delivery of the message for the selected media.
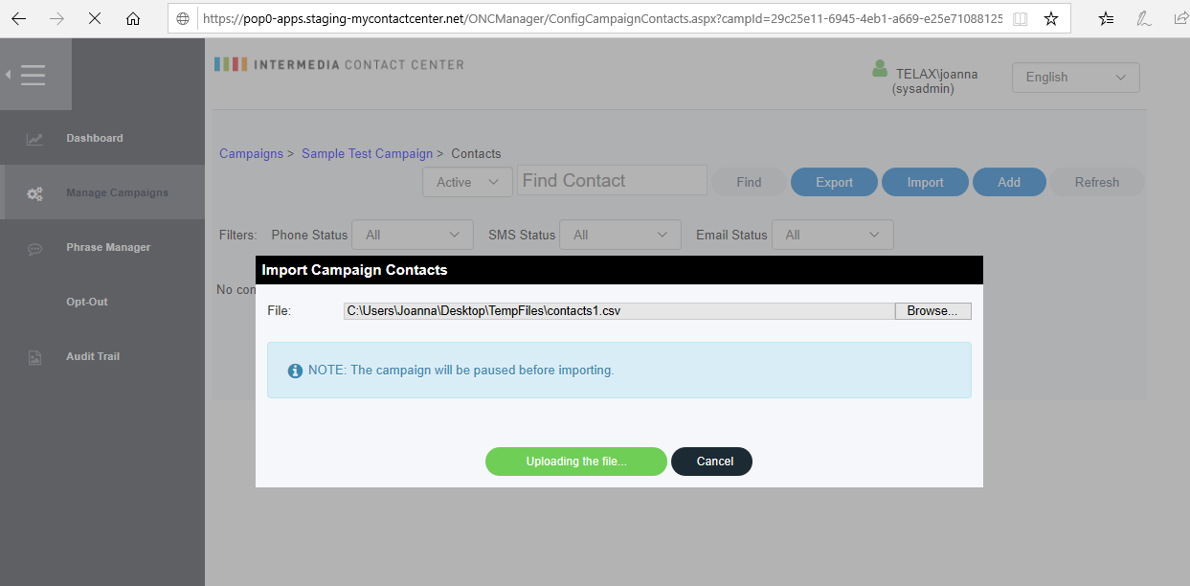
Once done configuring the initial Import Campaign Contacts screen as described above, click Next. You will be prompted to browse for your .csv file. Click Browse and select your file.
Note
The campaign will be paused while the contacts are imported to prevent them from being executed while they are still importing.

Once you have selected your .csv file, click Preview. The button changes to Uploading the file. for visual feedback.
If there are any problems with the file, a dialogue box appears listing the problems.
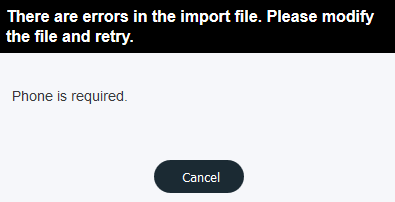
Click Cancel to fix any errors with the file before attempting to import the file again. Once all errors have been fixed, click Preview again. If no errors are found, the Import Campaign Contacts dialog box appears with an example of an imported contact. The messages that will be delivered to the first contact in the list are used as the example, with the values entered in the columns associated with that contact replaced in the correct spots.
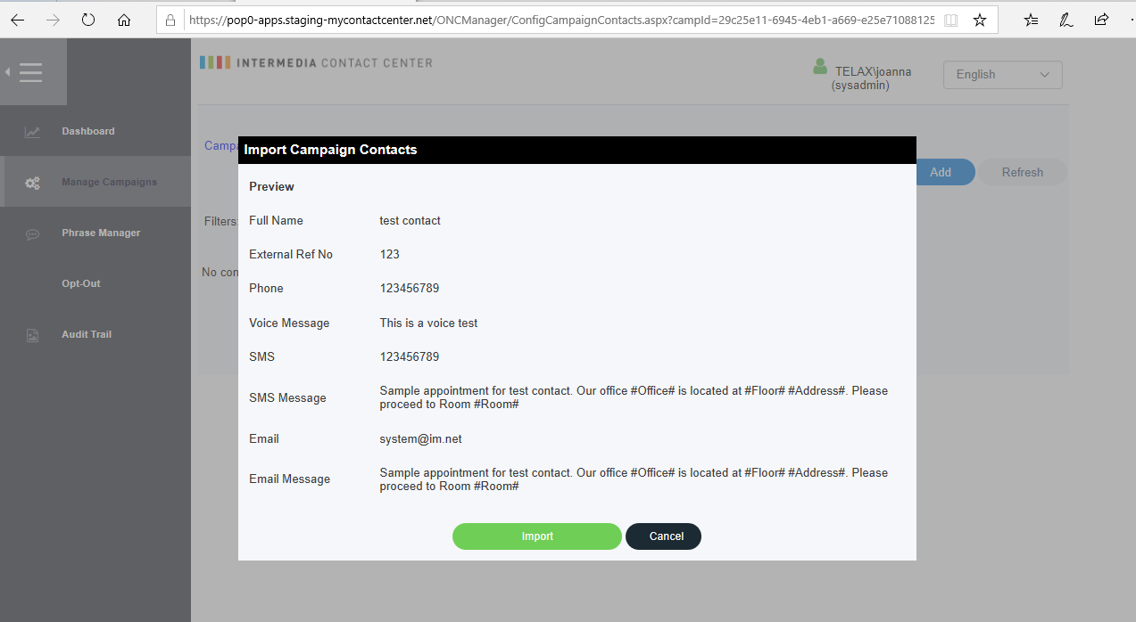
Note
If the first contact does not contain any information for any of the delivery methods, no message contact information or message is shown in the preview contact for that delivery method.
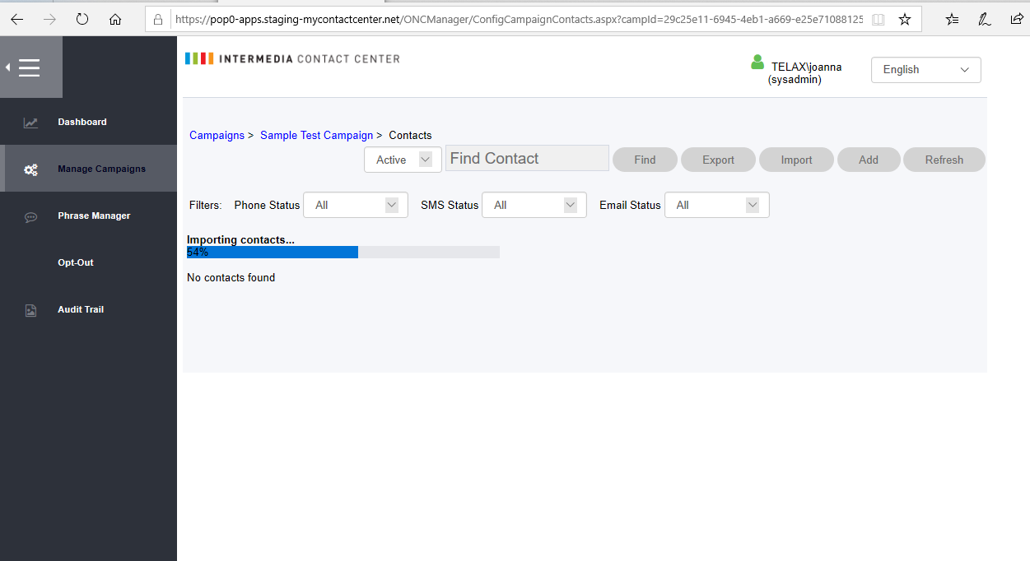
Click Import to finish the process. The Import Campaign Contacts dialog box closes, and a progress bar appears in the Contacts page to indicate the status in percentage (%).
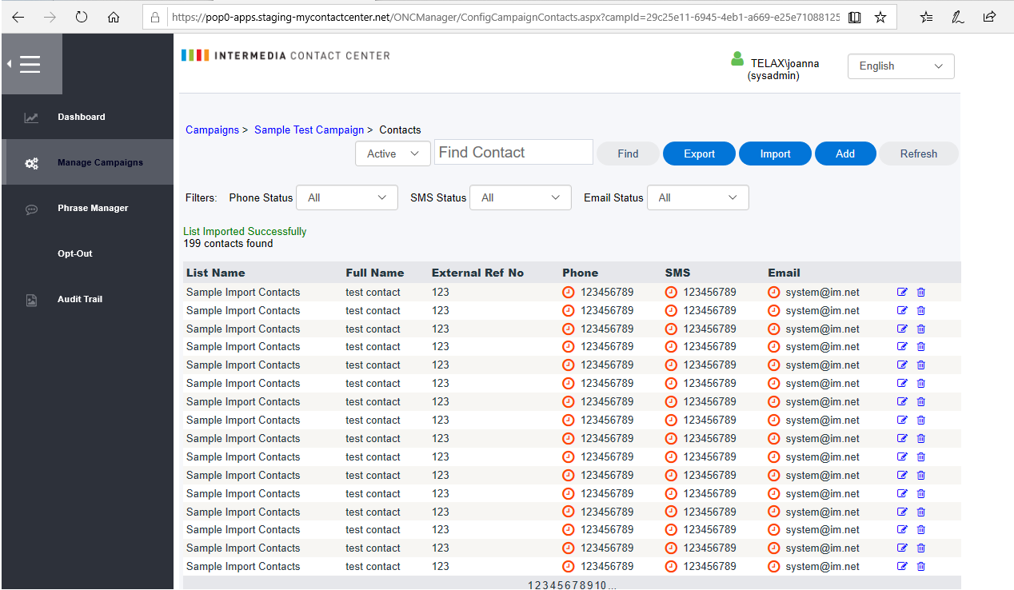
Once the import is complete, the Contacts page refreshes to show the full list of imported contacts, and the message, List Imported Successfully, appears.
To edit an existing campaign contact, click on the ![]() symbol located to the right of the contact.
symbol located to the right of the contact.
To delete an individual contact, click on the ![]() symbol located to the right of the contact.
symbol located to the right of the contact.
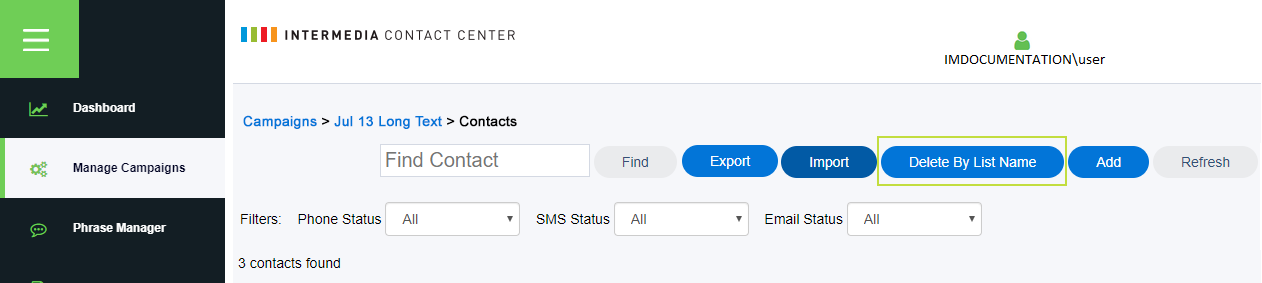
To archive the entire list of contacts, click Delete By List Name at the top of the Contacts page.
The Delete Contacts by List Name dialog box appears.
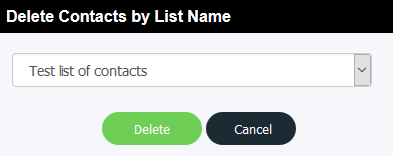
From the drop-down list of contacts, click the one you want to delete, and then click Delete. The list of contacts is deleted from the campaign.
Since July 6, 2023, Atlassian has no longer been used for Release Notes or knowledge base articles.
* Find Release Notes here (https://support.mycontactcenter.net/app/articles/detail/a_id/23378/) and articles here (https://support.mycontactcenter.net/app/main).
* Authenticated Partners can access content here (https://support.mycontactcenter.net/cc/sso/authenticator/oauth/authorize/imcontrolpanel?redirect=main&source=mycontactcenter)