Note: Before setting up your SMS Chat Account, contact your system administrator to obtain the Webhook URL
To setup an SMS chat account:
- Navigate to the Twilio site and create an account.
- Login to your Twilio account.
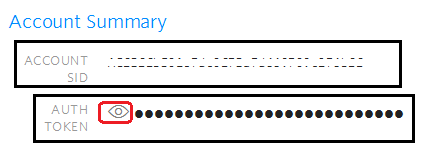
- Click on the EYE icon to reveal the AUTH TOKEN.
- Record the Account SID and the AUTH TOKEN, you will need these when updating your SMS Chat Settings in the Client Admin Portal.
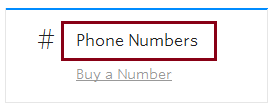
- Click on Phone Numbers to access the Phone Numbers page.
- Click on the Phone Number to be configured for Chat.
- Scroll to the bottom of the page and update the Messaging section:
- From the CONFIGURE WITH drop down menu, select Webhooks/TwiML.
- From the A MESSAGE COMES IN drop down menu select Webhook and enter the URL, If you are in the USA, enter this url: https://pop1-apps.mycontactcenter.net/SMSReceiver/ReceiveTwilioSMS.aspx . If you are in Canada, enter this URL: https://pop0-apps.mycontactcenter.net/SMSReceiver/ReceiveTwilioSMS.aspx
- From the PRIMARY HANDLER FAILS drop down menu, select Webhook and enter the same url as noted above
- Click Save.
Once you have setup your SMS chat account in Twilio, you can update your SMS Chat Settings from the Client Admin Portal General Page to import your numbers. Refer to Twilio Settings.
Related Articles:


