Once you have added a new working schedule, you can define the working hours for your Contact Center. This will determine when callers are able to get through to an Agent. Calls that are waiting in the queue when the Contact Center closes will not be dropped. Only calls received after the closing time will be sent to the call flow implemented for After Hours processing.
...
Follow the instructions for accessing the Working Hours page as outlined in Working Hours.
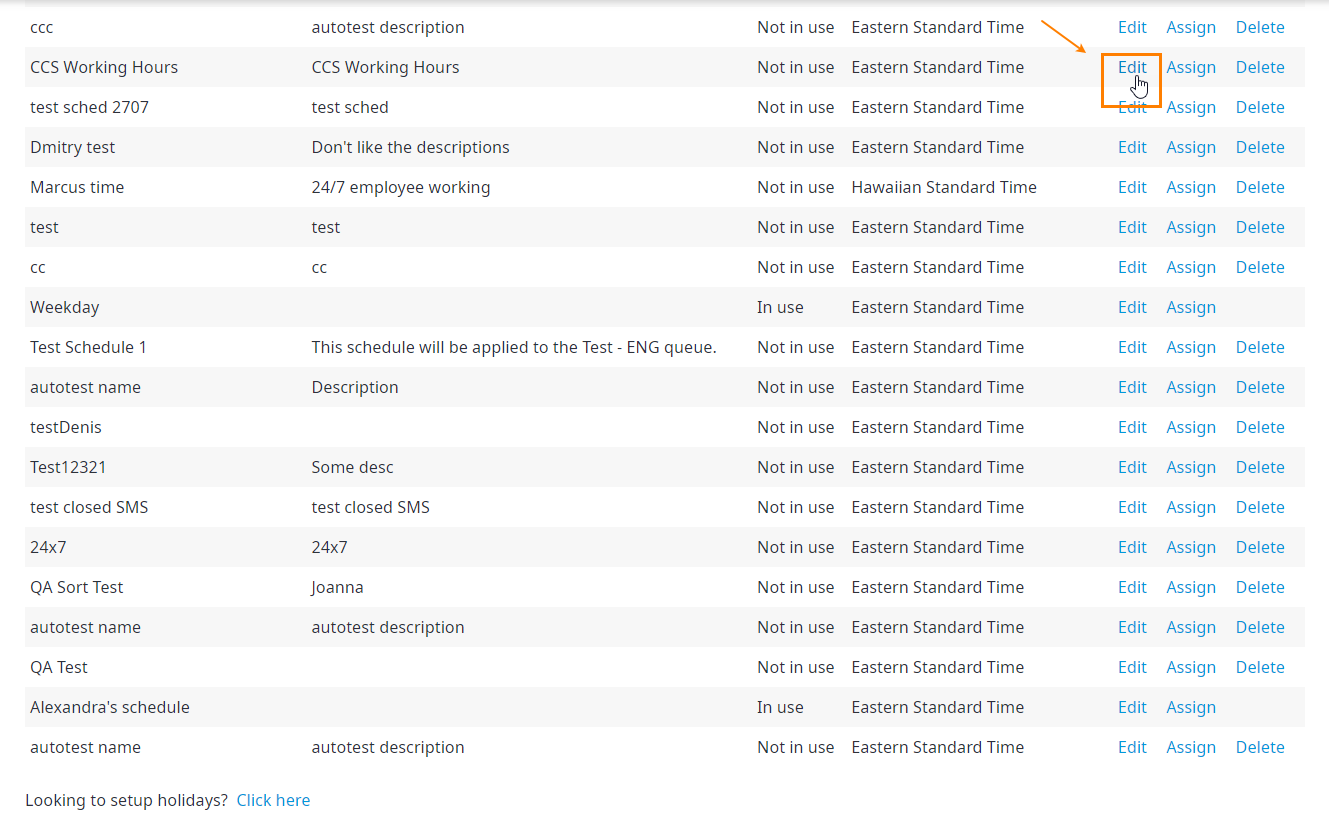
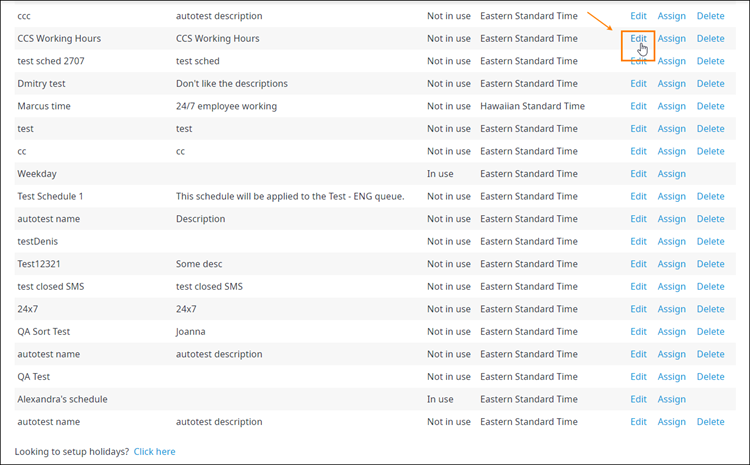
- Scroll to the schedule you want to edit, and then click Edit.
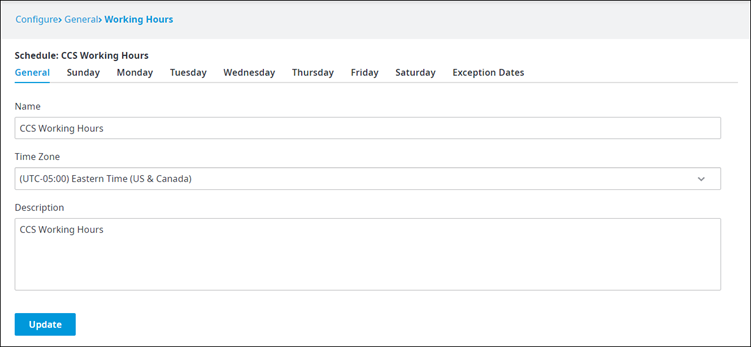
- The Schedule Details page appears. This page is divided into 9 tabs, starting with the General tab, which contains the Name, Time Zone, and Description of the schedule. The other eight tabs are for each day of the week (Monday to Sunday) and for Exception Dates.
NoteTip: The time zone that appears in this page is resolved based on the time zone you selected when you first create the schedule (see Adding a New Working Hours Schedule). However, you can always change it in this Schedule Details page as needed.
FMI: See Adding Intervals and Adding Exception Dates for For more information on how to configure the days of the week and and Exception Dates tabs, see Adding Intervals and Adding Exception Dates tabs.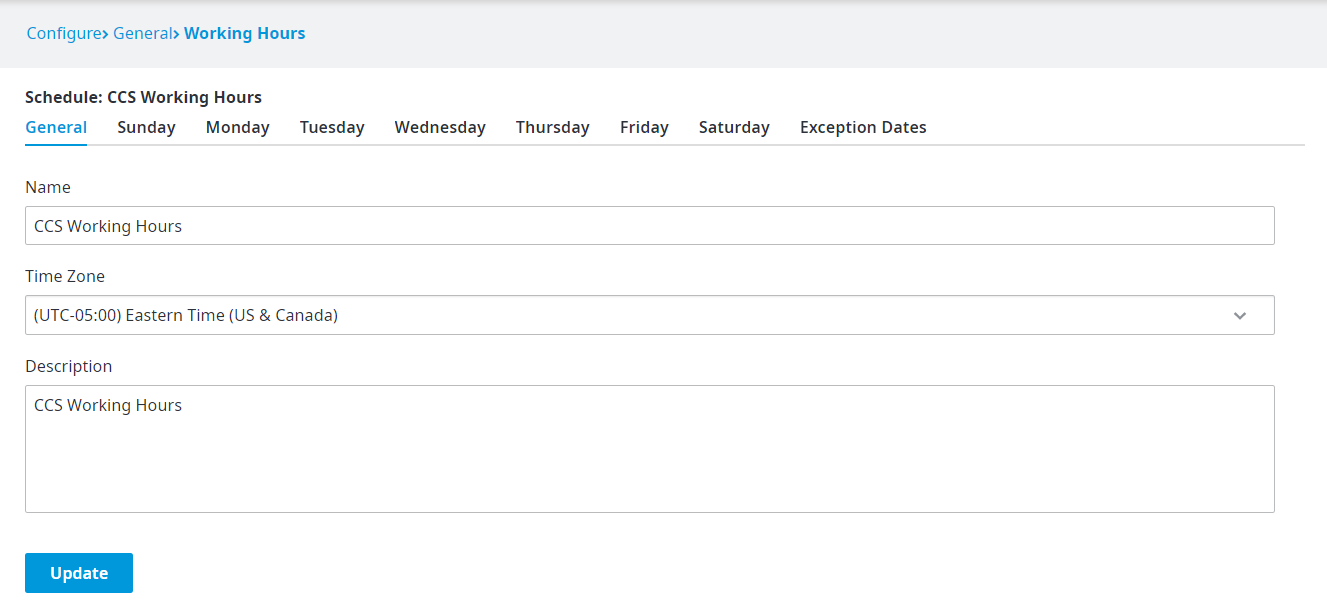
- Click Update when done.
...