...
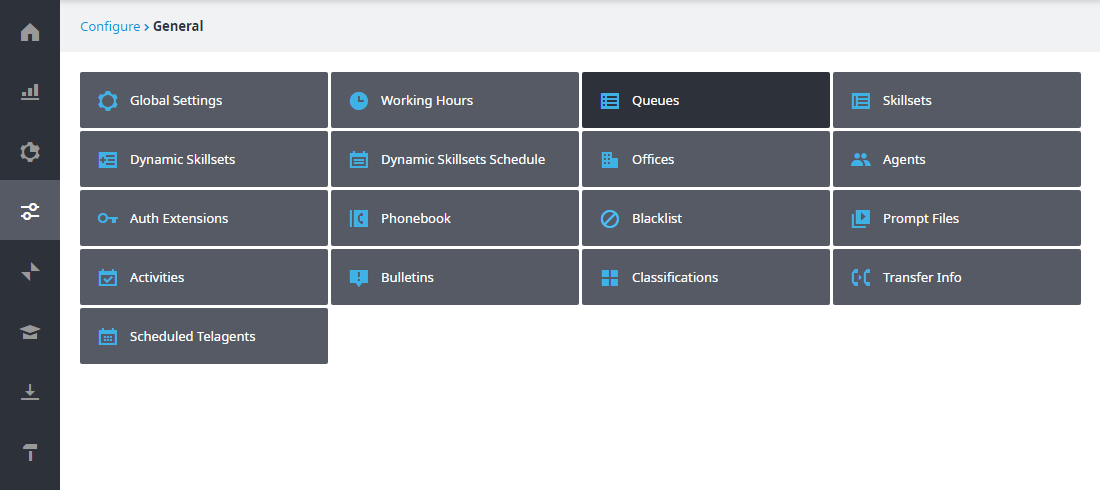
- In the Admin Portal, navigate to Configure > General > Queues. Note that you can access the Queues page directly if you've set it as a Favorite on your Home page.
- Click In the Queues page that appears, click Options, located to the right of the queue, for the queue you want to adjust the simultaneous agent ring.

- The Voice Queue – Options page opens. The options are identical for Non-Retail and Retail Voice Queues; the only difference is in the Queue name. For example, the image shown below corresponds to the Customer Service queue, which was configured as a Retail Voice Queue.

- From the Max. agents to ring simultaneously drop-down menu, select the maximum number of agents that will be rung when a call is transferred to the selected queue.

Note: The default number is 10, and the maximum number of agents that can be rung simultaneously is 15. - Click Update.

- Your changes are saved.
...