...
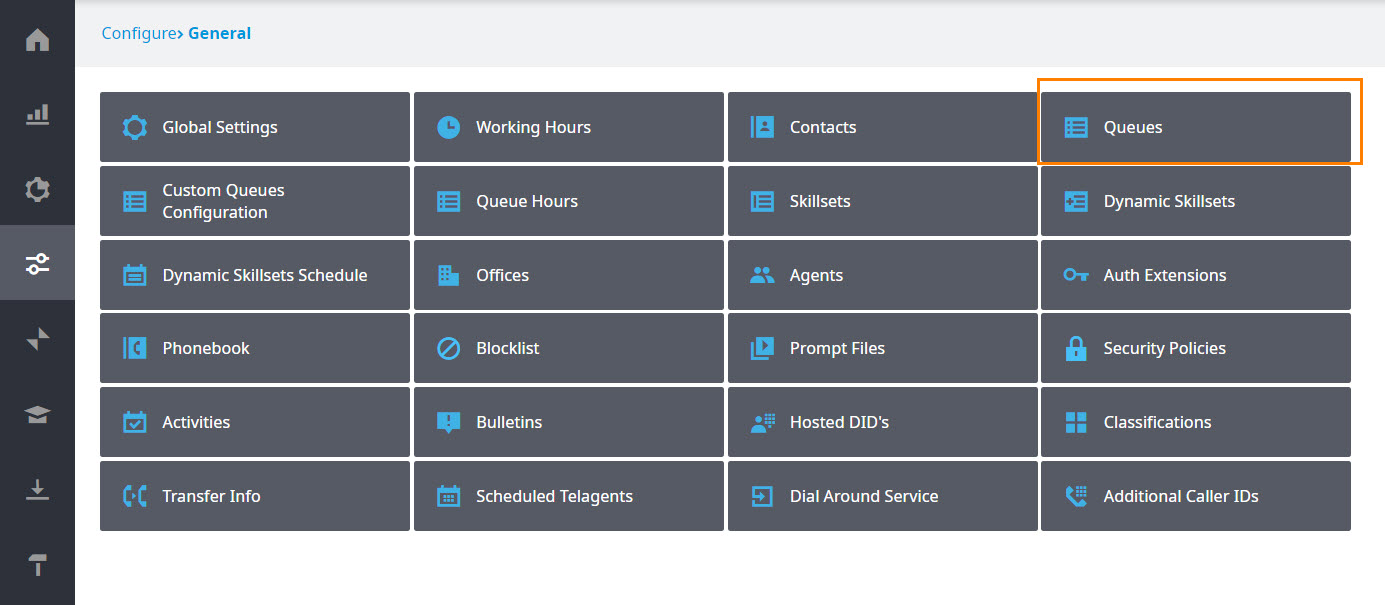
After logging on to Contact Center, navigate to Configure > General > Queues.

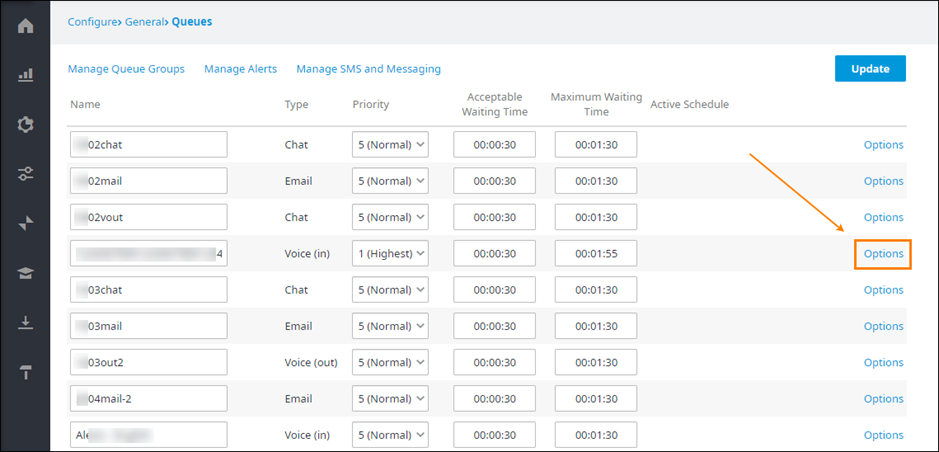
In the Queues page that appears, click Options for the Voice (In) or Voice (Out) queue whose voicemail or call recording you want to transcribe and analyze.
In the Options page that appears for the Voice (In) or Voice (Out) queue you chose, click to select the following checkboxes:
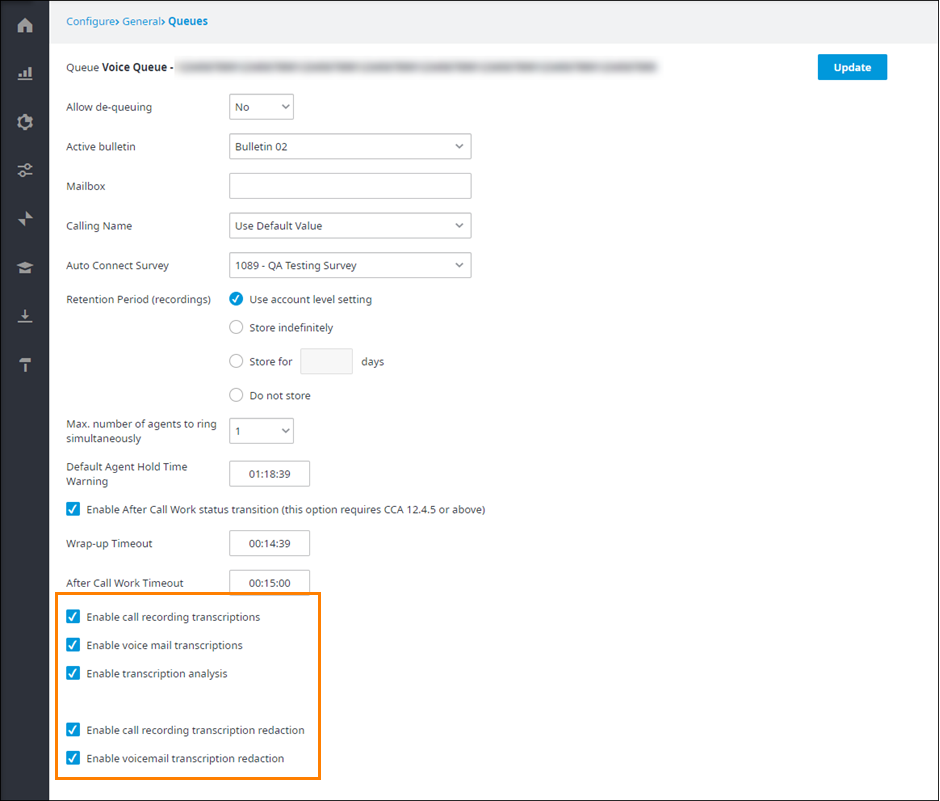
Enable call recording transcriptions: To transcribe all call recordings.
Enable voicemail transcriptions: To transcribe all incoming voicemail messages.
Note: The following three checkboxes appear only after you have enabled either call recording transcriptions or voicemail transcriptions.Enable transcription analysis: To perform sentiment analysis on the transcriptions.
Enable call recording transcription redaction: To redact sensitive data while transcribing call recordings. This setting is ON by default.
Enable voicemail transcription redaction: To redact sensitive data while transcribing voicemails. This setting is OFF by default.
Important: By default, the following information will be EXCLUDED from redaction, per Symbl documentation:Name
Age
Location
Marital Status
Occupation
Zodiac Sign
In a future release, we will add the ability to customize the list of information to be excluded from redaction.
Click Update when done.
...
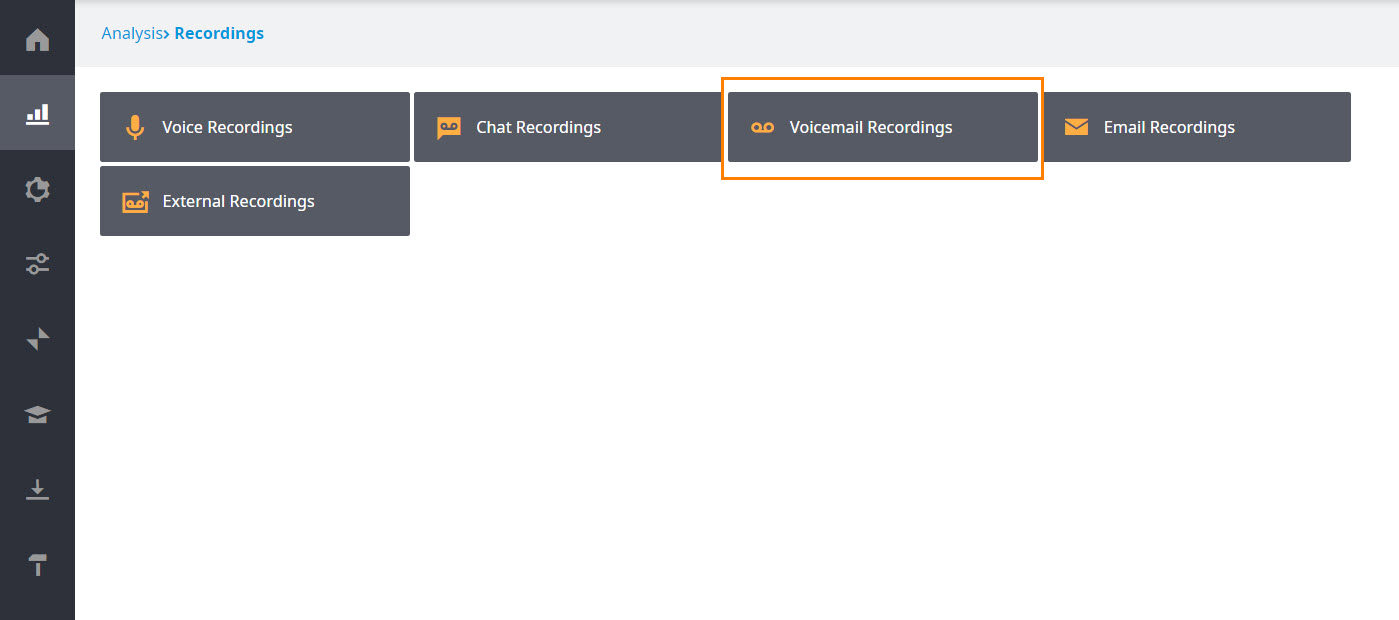
After logging on to Contact Center, navigate to Analysis > Recordings > Voicemail Recordings.

In the Search Voice Recordings page that appears, complete the boxes as you normally would, with emphasis on the following:

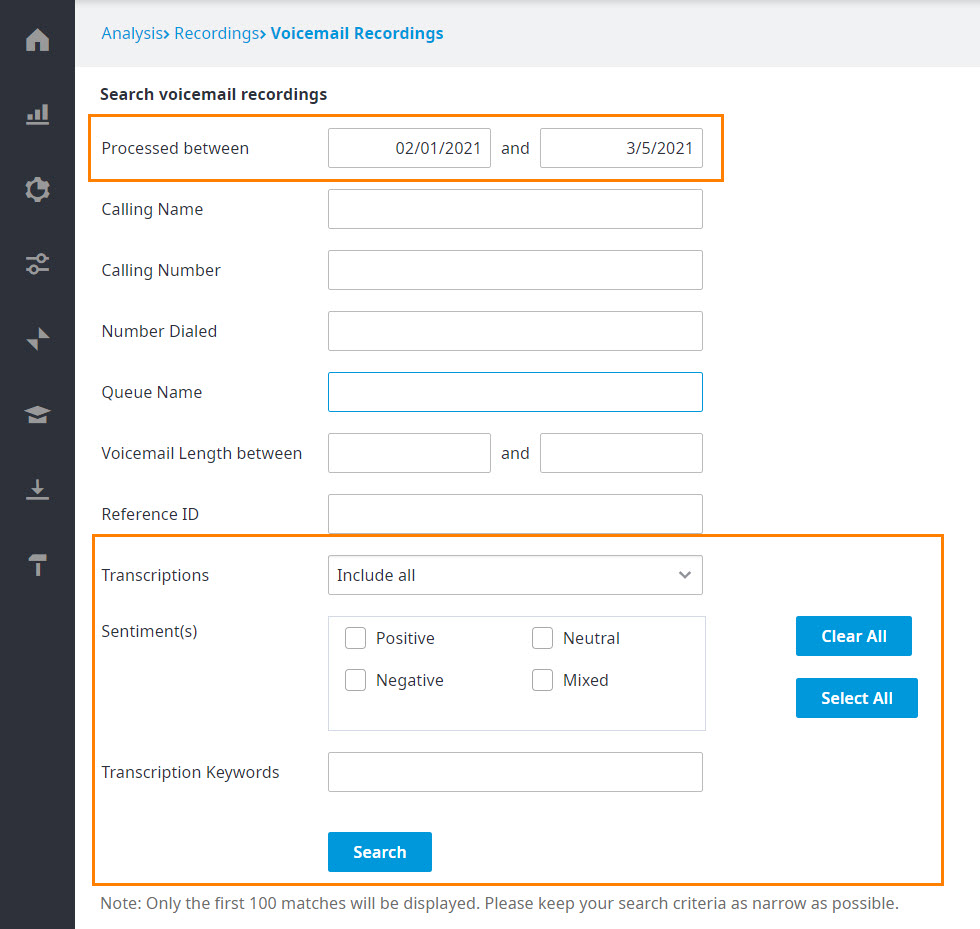
Processed Between: Enter the date range.
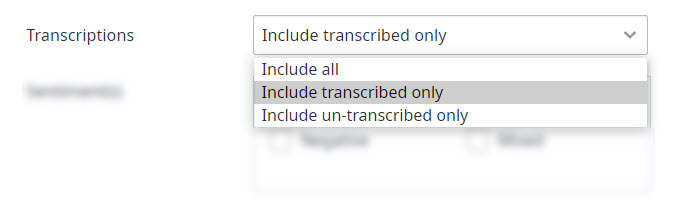
Transcriptions: Click whether you want to search for all transcribed recordings, recordings with no transcriptions, or both.
Sentiment: Select the type of sentiment you want to search. In other words, select whether you want to search only for Positive transcriptions, Negative transcriptions, Neutral transcriptions, or Mixed transcriptions. You can select one, more than one, or all types of sentiments.

Transcription Keyword: Enter any keywords you want to limit the transcriptions to, or leave blank ignore keywords. Only those transcriptions that contain the keywords you enter will be produced in your search results.
Tip: You can search by multiple key phrases separated by a semicolon.
Click Search to look for the recordings that fit your criteria.
The Results page that appears displays all the recordings that match your criteria. When you hover your mouse over the Sentiment analysis tag, confidence scores appear for each sentiment. The highest confidence score determines the overall sentiment assigned to the transcription.
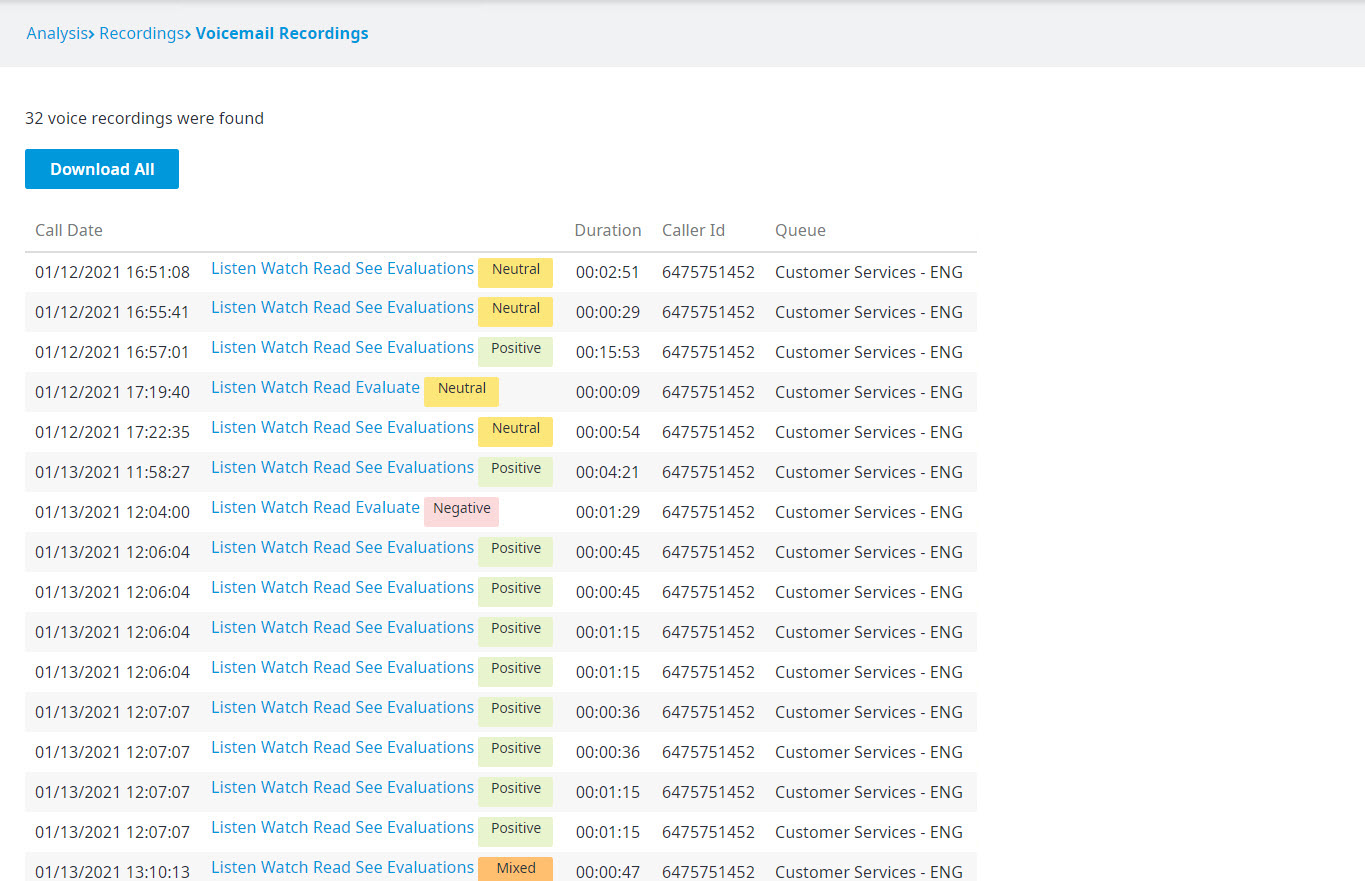
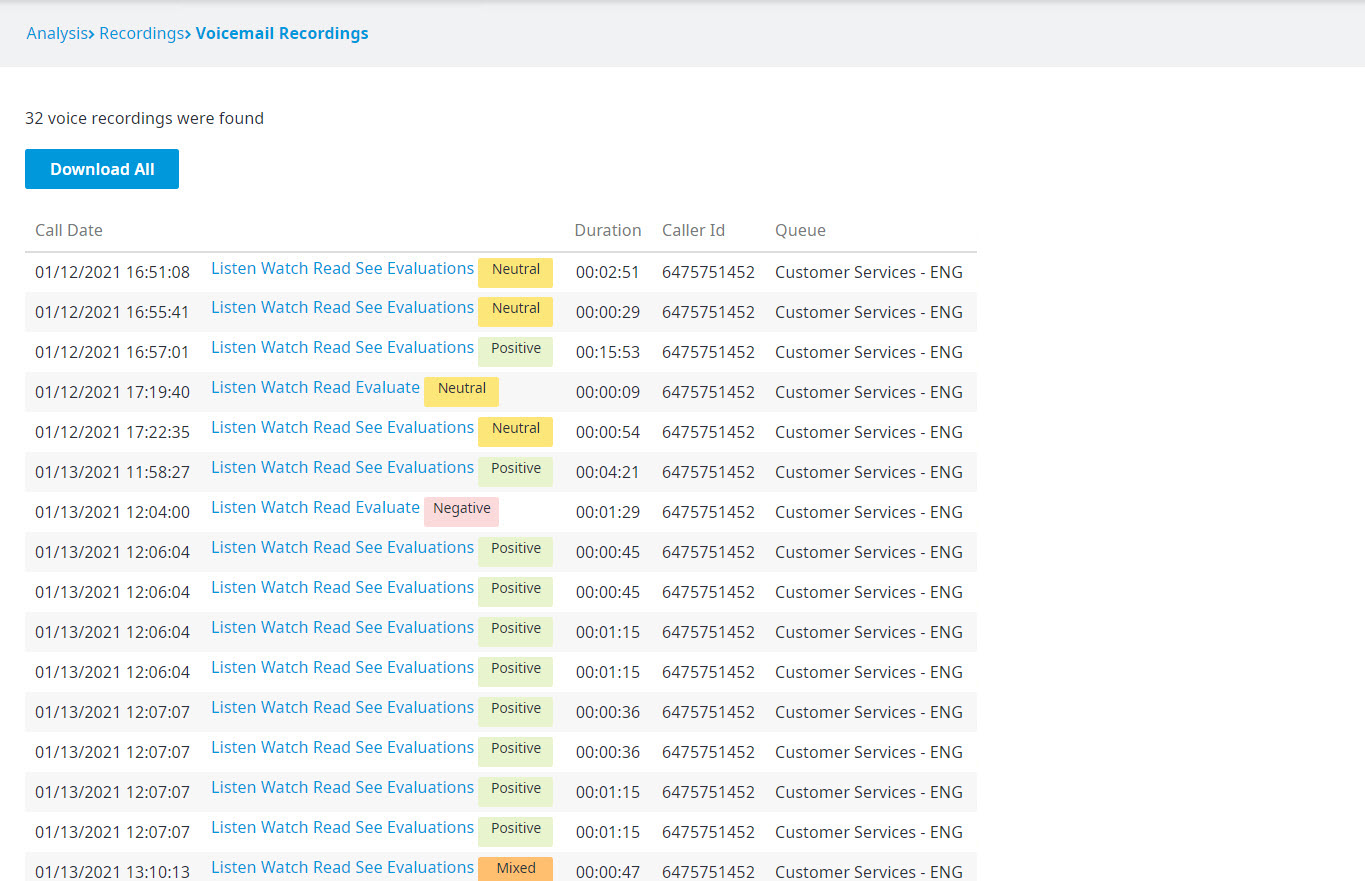
For example:The first record in the image above shows a sentiment analysis of Neutral. Hovering the mouse over it reveals the following confidence scores:

The third record in the image above shows a sentiment analysis of Positive. Hovering the mouse over it reveals the following confidence scores:

The seventh record in the image above shows a sentiment analysis of Negative. Hovering the mouse over it reveals the following confidence scores:

The last record in the image above shows a sentiment analysis of Mixed. Hovering the mouse over it reveals the following confidence scores:

...
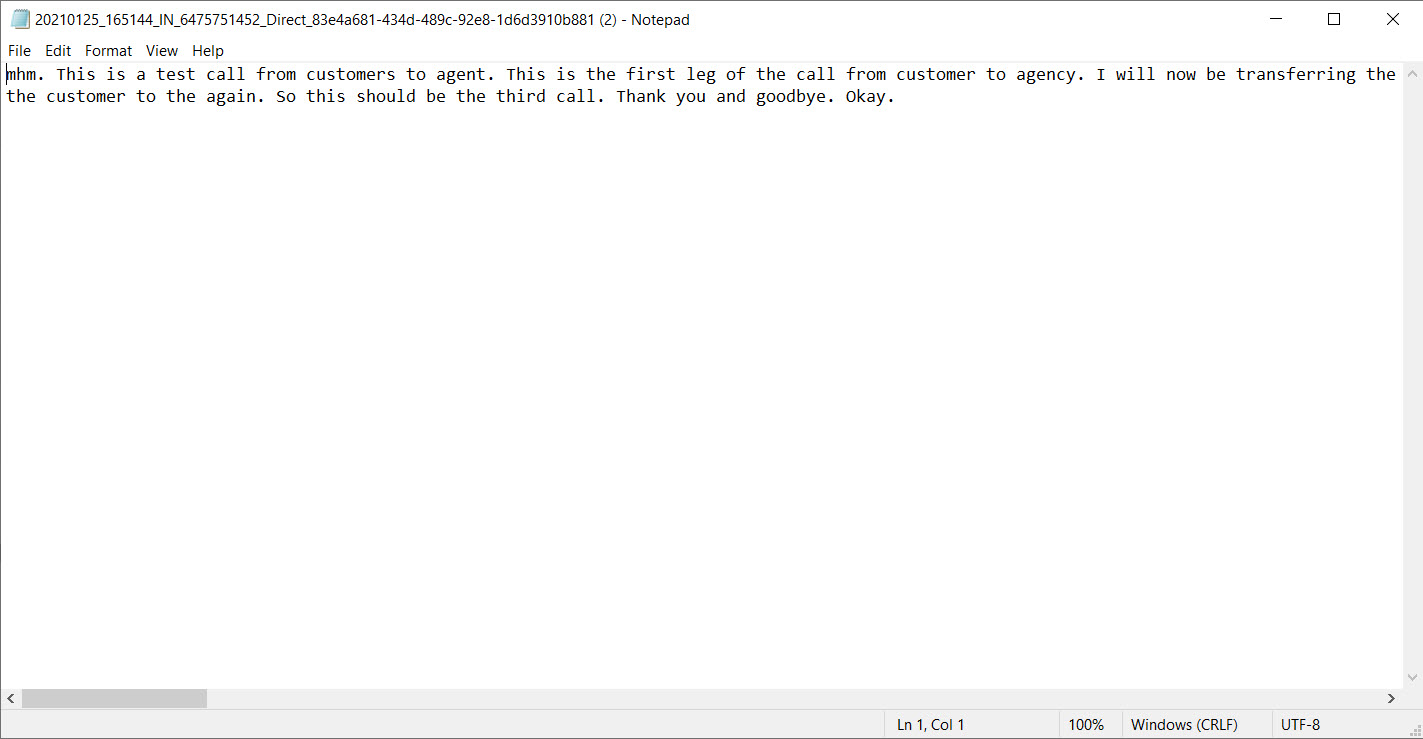
In the Results page, scroll to the call recording whose transcription you want to read, and click Read.

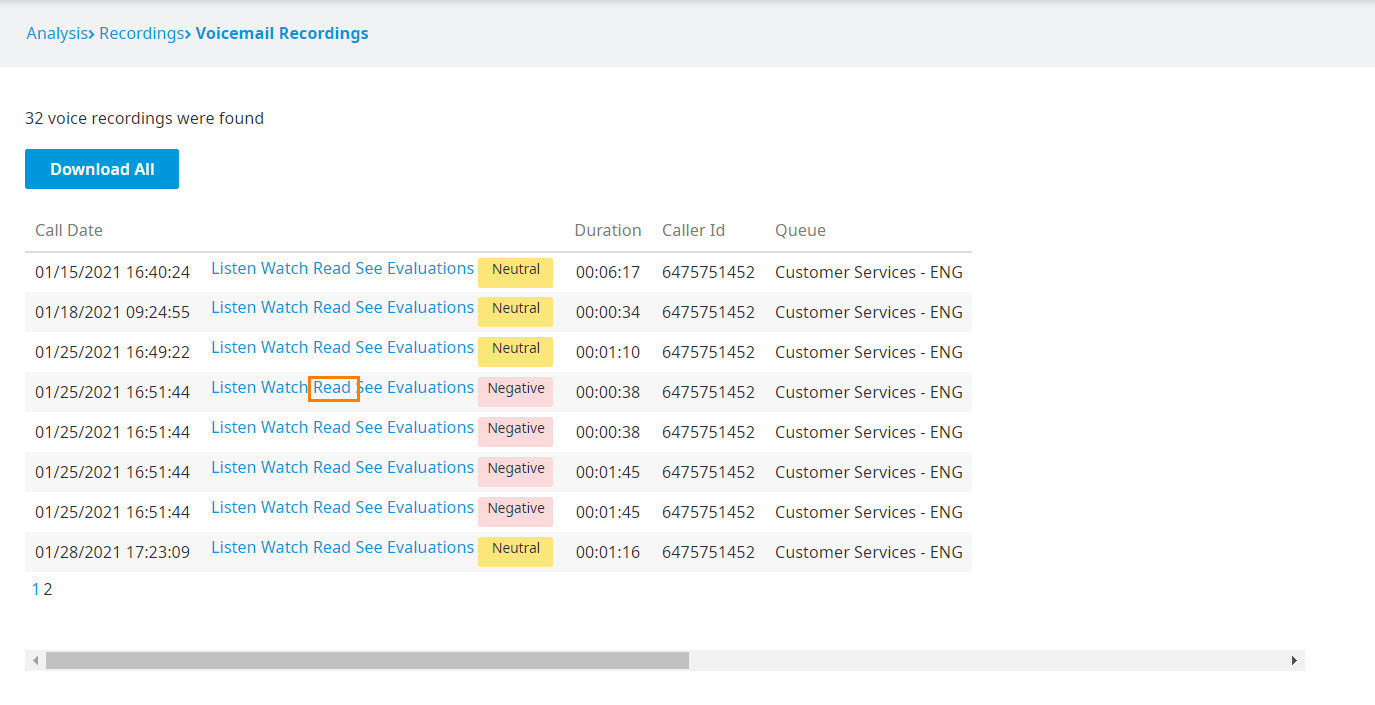
The transcription is downloaded as a text file that you can then open and read. For example, the transcription for the image above is as follows: