...
1. Sign into your client portal.

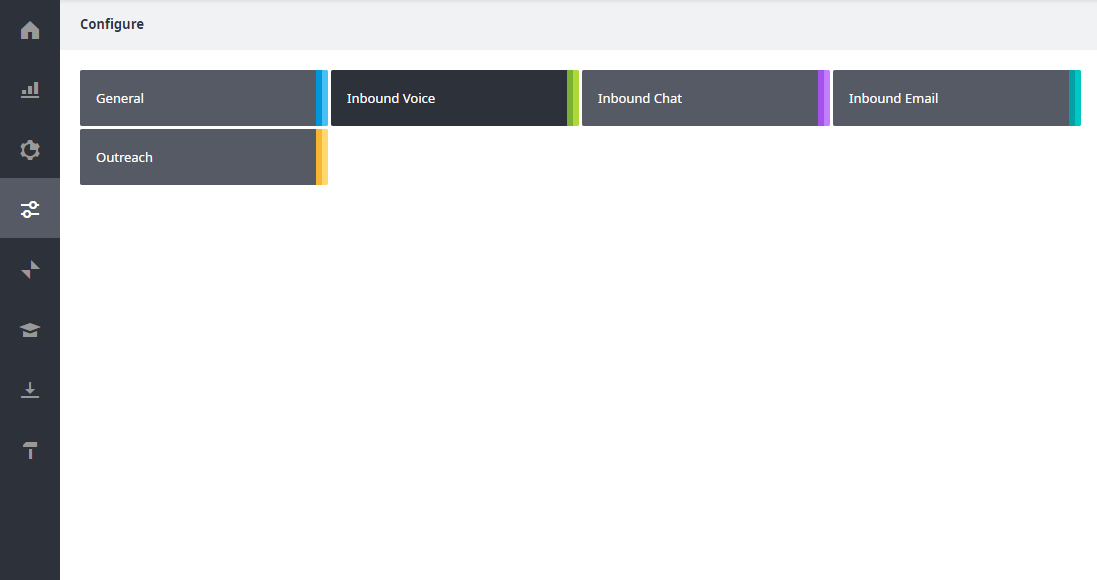
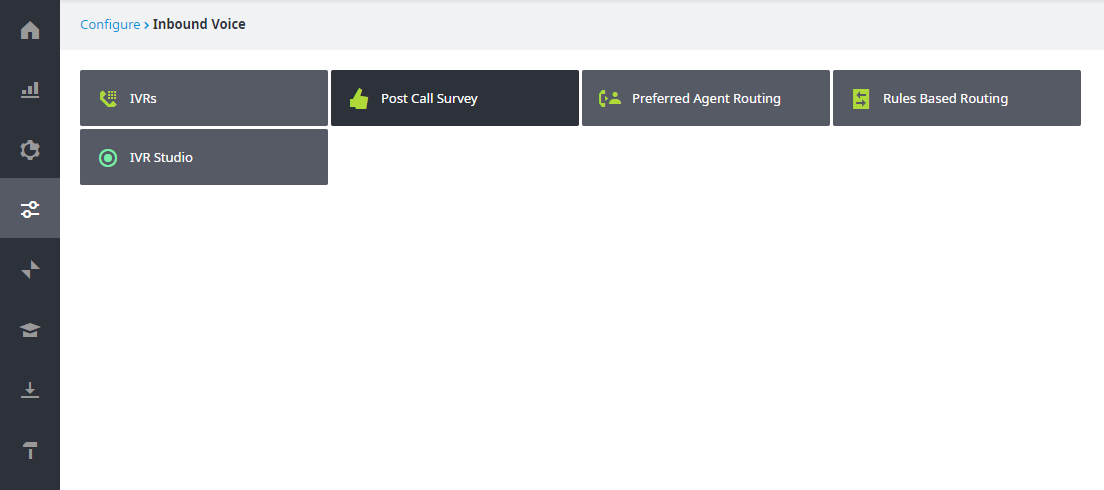
2. Click the Configuration tab from the left navigation tab, then from the expanded menu click Inbound Voice, and finally Post Call Survey.

...
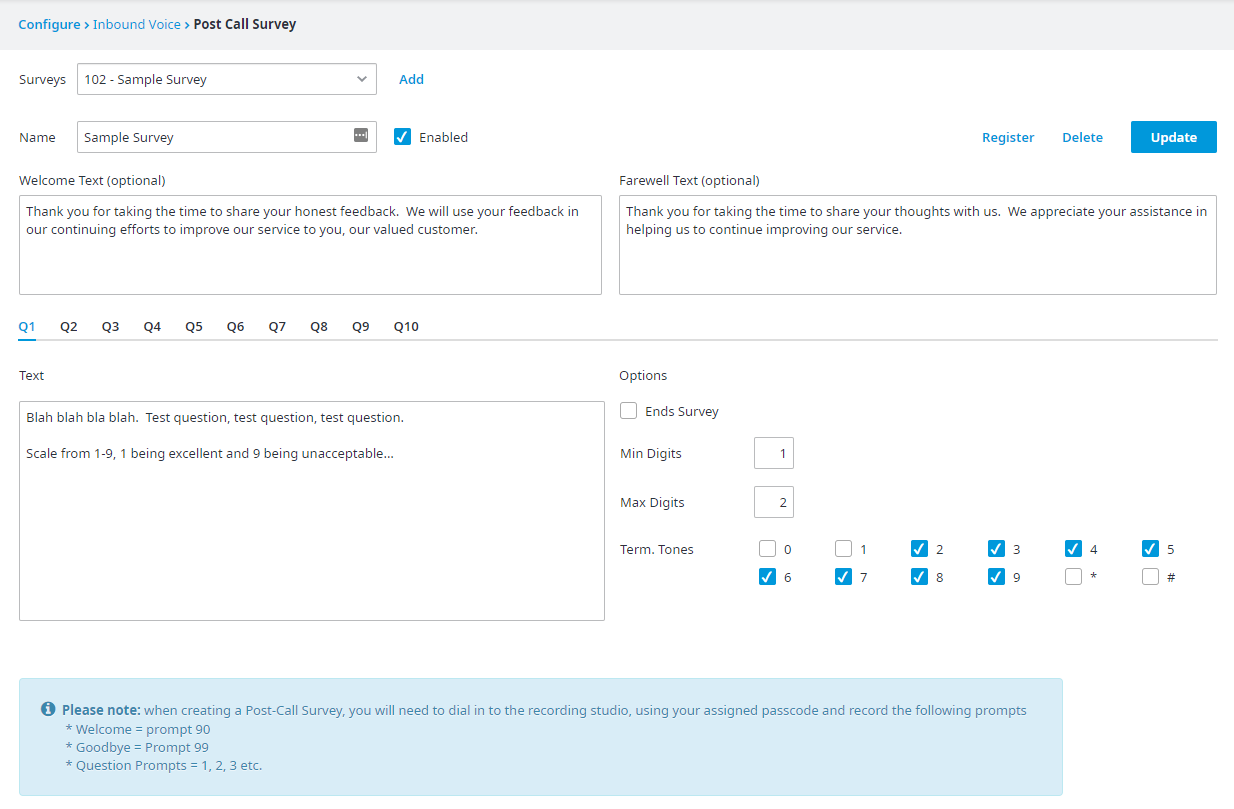
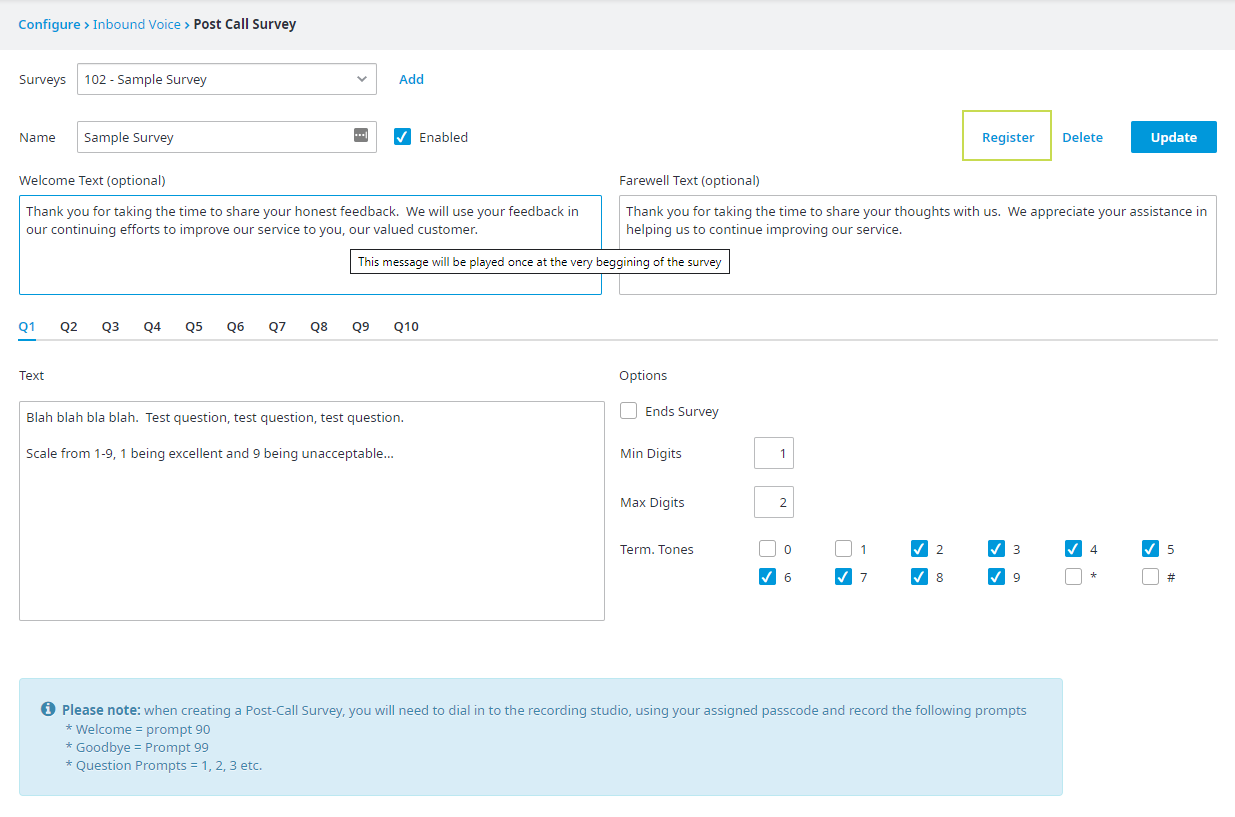
3. From here, either Create a new Survey or edit an existing one. To edit a particular survey, select it from the Surveys drop-down menu in the top left.

...
4. Once you've finished editing or creating, click Register. This action will make your survey available as a post-call survey option.

...
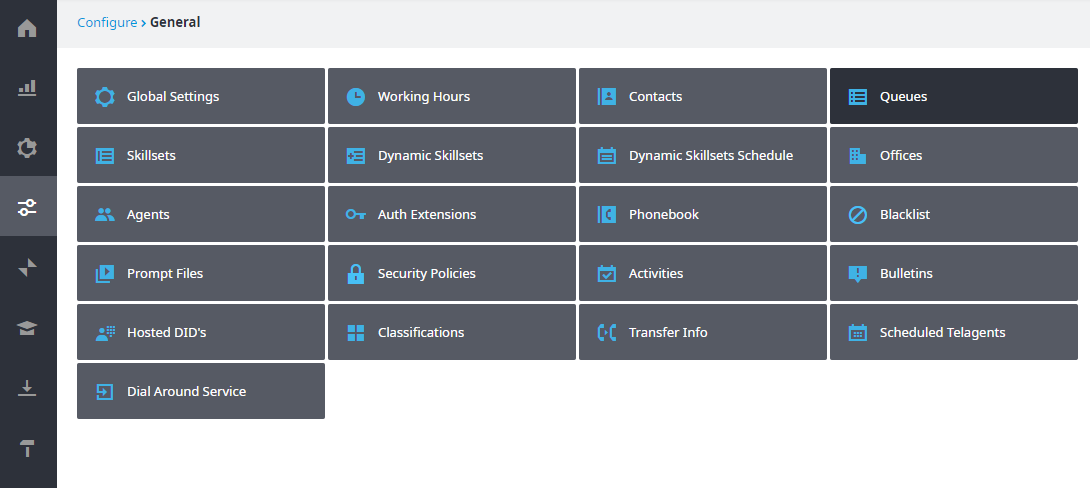
5. Now, from the left navigation, click , choose Configure, then General, and finally Queues. Find the queue where you want to use your post-call survey, and click Options.
| Info |
|---|
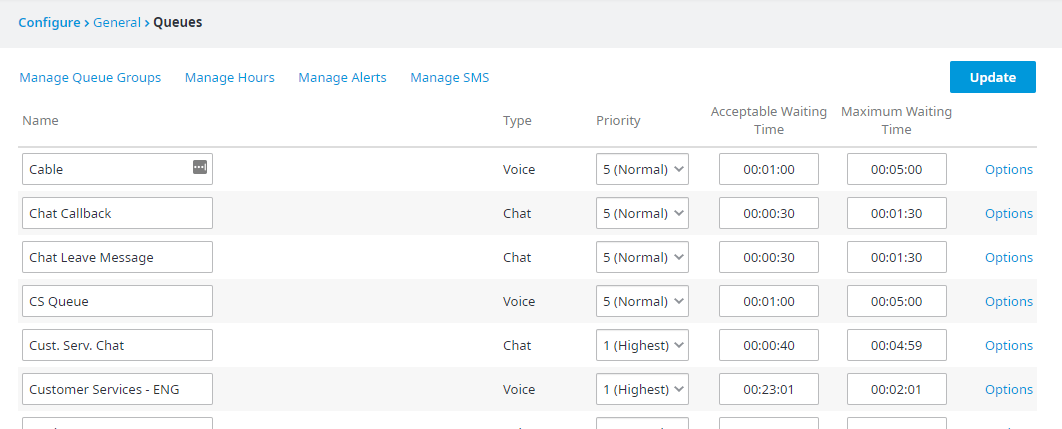
Post-call surveys, as their name implies, only apply to Voice queues. The option will not appear under Chat or E-mail queues. |
...
Find the queue you want to attach this survey to, and click Options at the far right.
...
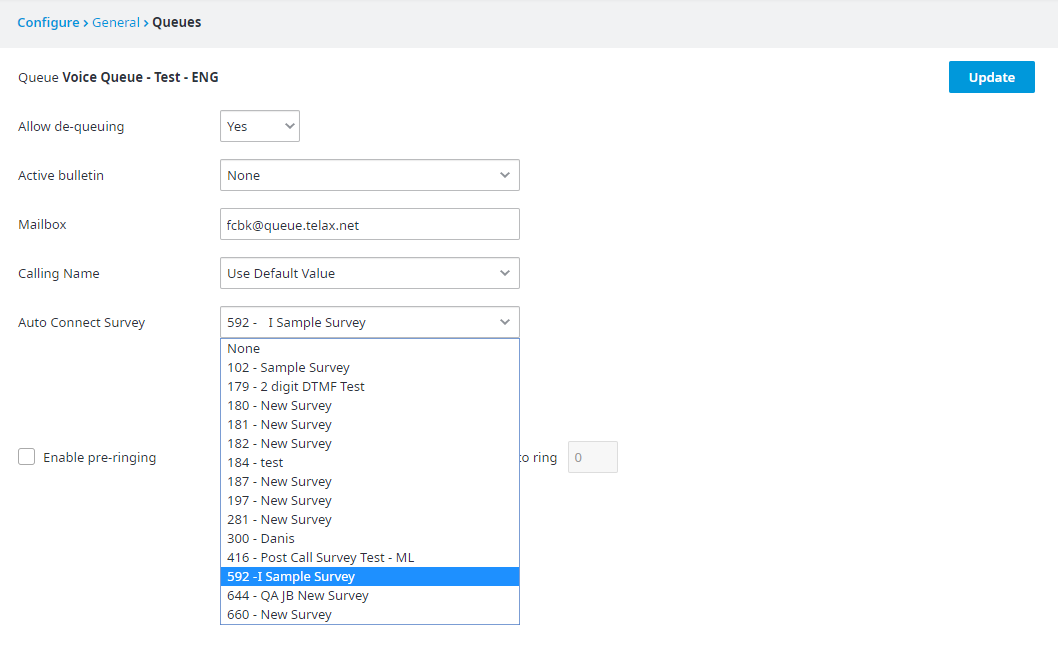
6. The last step is to connect this queue to the post-call survey you created or edited earlier. To do so, simply select the correct survey from the Auto Connect Survey dropdown.
Finally, click Update - and you're done!

...
Walkthrough - Video
...