...
In addition, you can set up a time zone for schedules, and then choose the time zone, dates, and times for a selected schedule that will be resolved according to this time zone. When the time zone in the schedule is changed, the entire schedule will be adjusted to a different time zone. This allows accounts with offices in different countries (i.e., in multiple time zones) to configure their work in a more flexible way, without the necessity to calculate time shifts from the base account time zone.
To access the Working Hours page
- Log in to Admin portal per usual.
- Navigate to Configure > General > Working Hours.
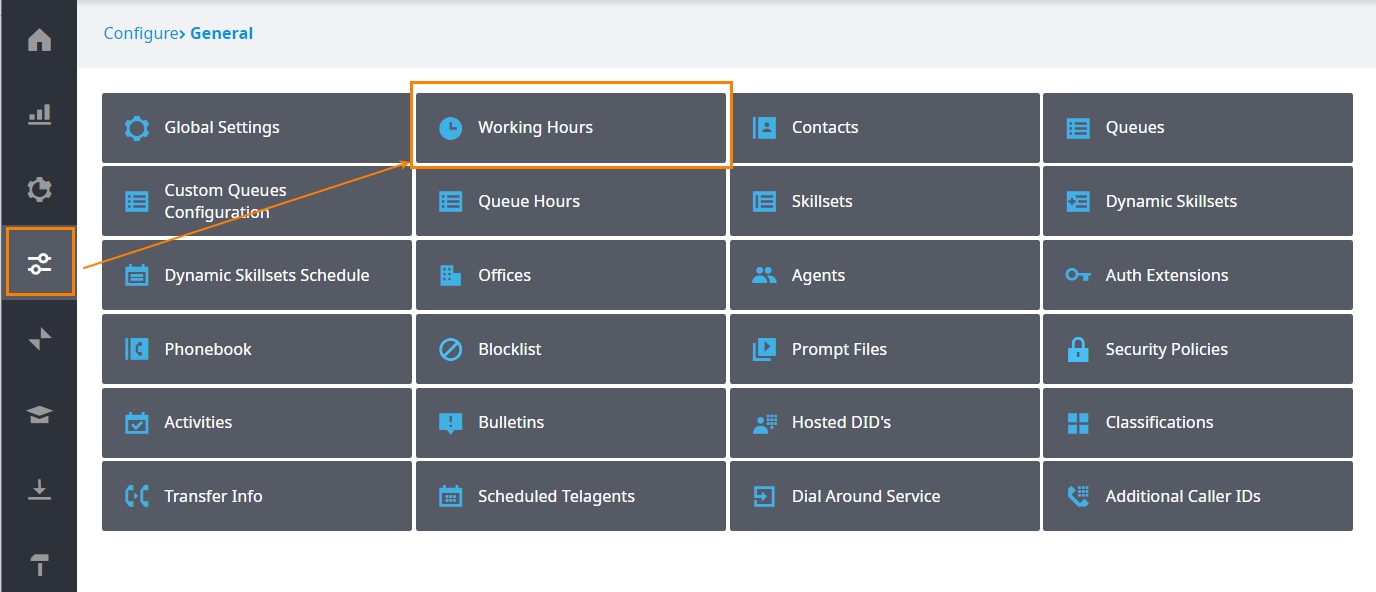
- The Working Hours page appears.
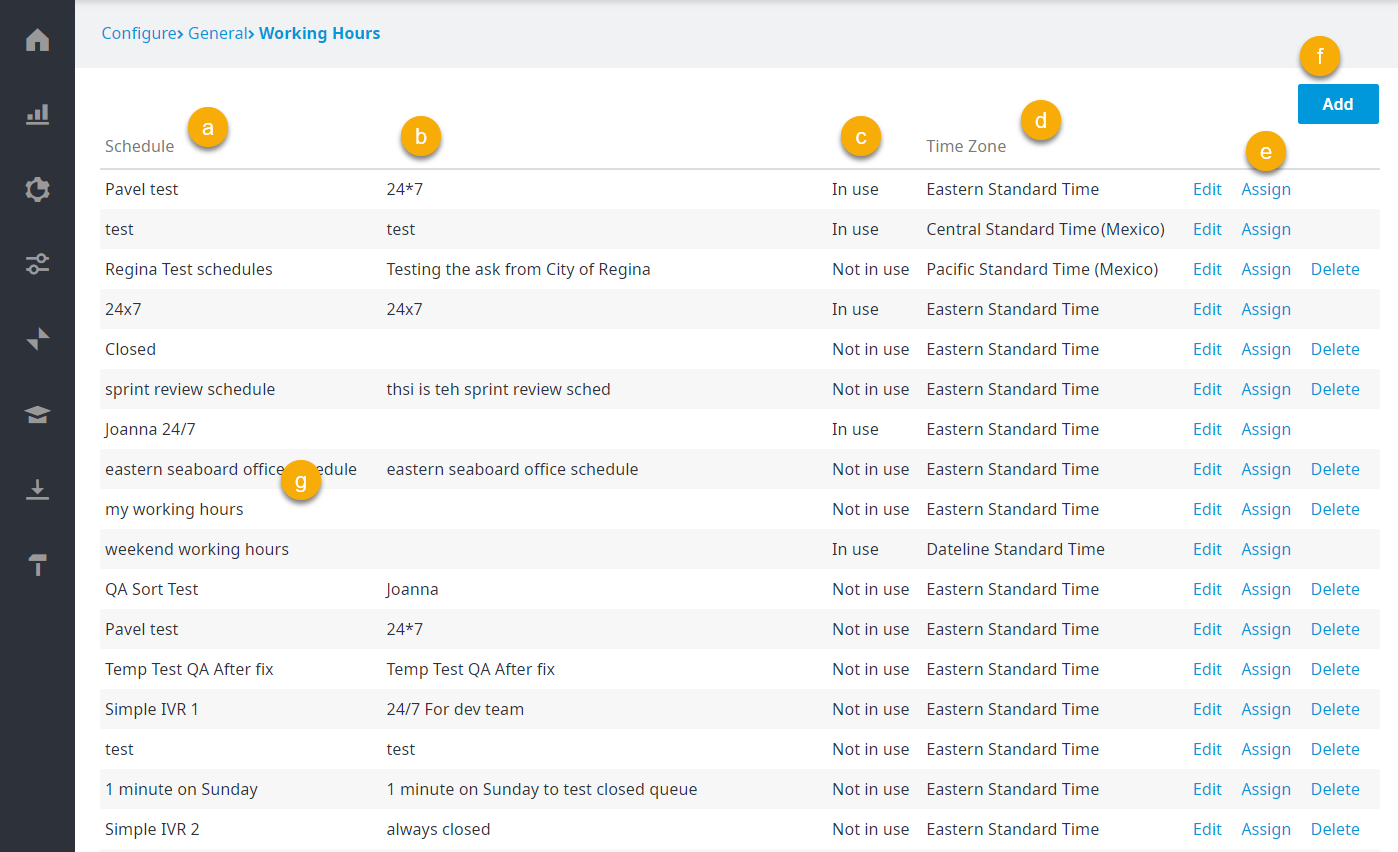
The Working Hours page contains the following columns:- Schedule: The name of the schedule.
- A description of the schedule.
- Indicates whether the schedule in currently In use or Not in use.
- Time Zone: The time zone set up for the schedule.
Edit/Assign/Delete: Allows you to edit an existing schedule, assign a schedule to queues and IVRs, or delete the schedule.
Info title IMPORTANT - You can only delete schedules that are Not in use.
- NO confirmation message appears when you click Delete. Make sure you are certain you want to delete the schedule prior to clicking Delete.
- Add: Click to add a new schedule.
| Info | ||
|---|---|---|
| ||
| A Contact Center Account can only have either Standard Working Hours OR Working Hours by Schedules enabled. If Standard Working Hours is enabled for your account (default Account creation Setting before Nov 2016) but wish to enable Working Hours by Schedules, please contact your service provider. |
...