This page explains how to add a new working hours schedule.
To add a new working hours schedule:
- Follow the instructions for accessing the Working Hours page as outlined in Working Hours.
- Click Add.

The dialog box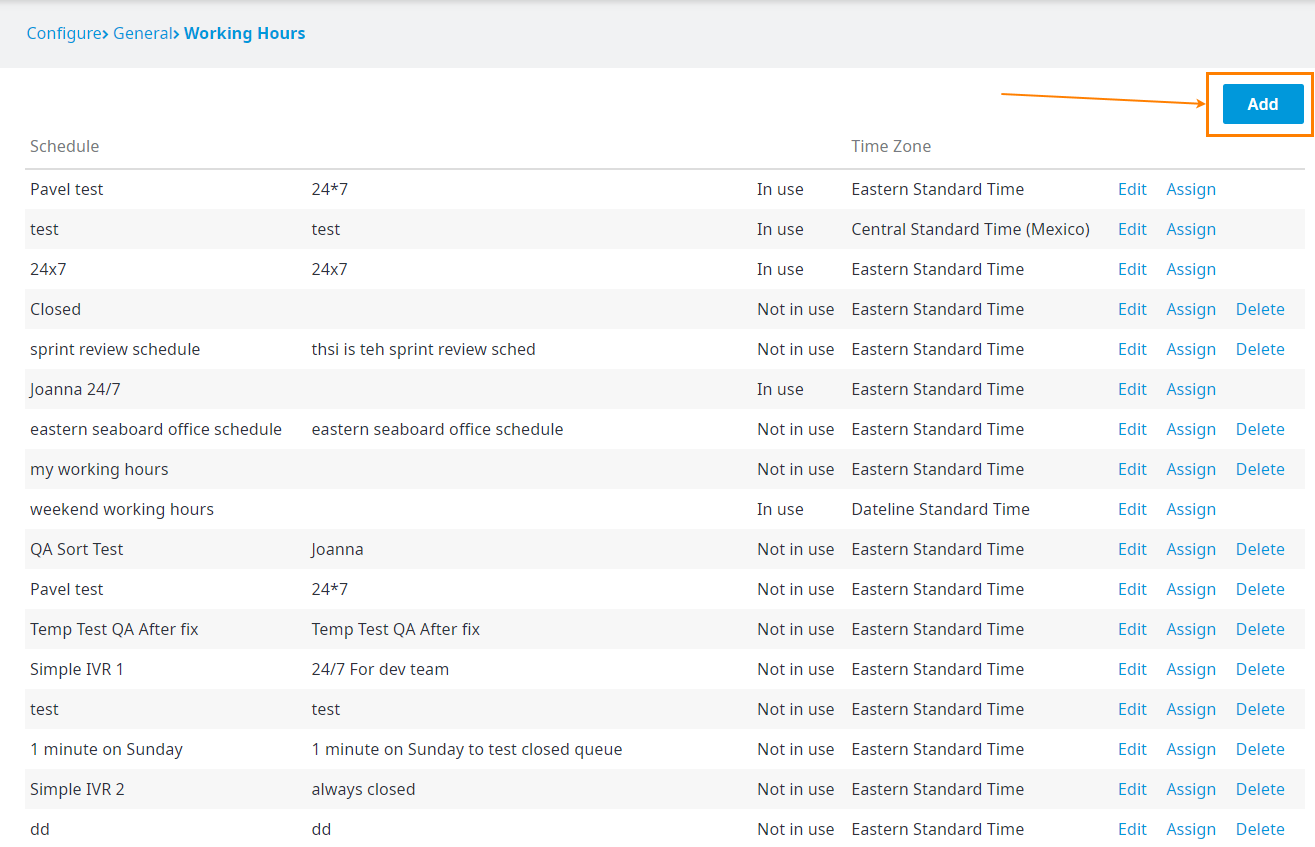
- In the Add Working Hours Schedule appears.Type a Name and Description for the new schedule and click OK.

The new schedule appears in the Schedules list with the status dialog box that appears, do the following: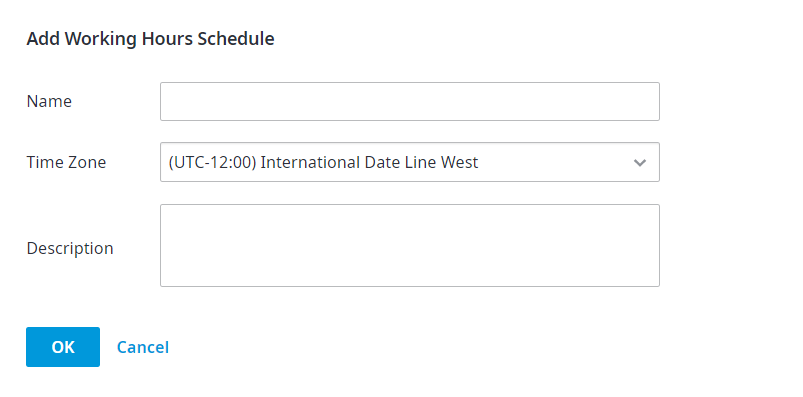
- Name: Enter a name for the schedule.
- Time Zone: Select a time zone for this schedule.
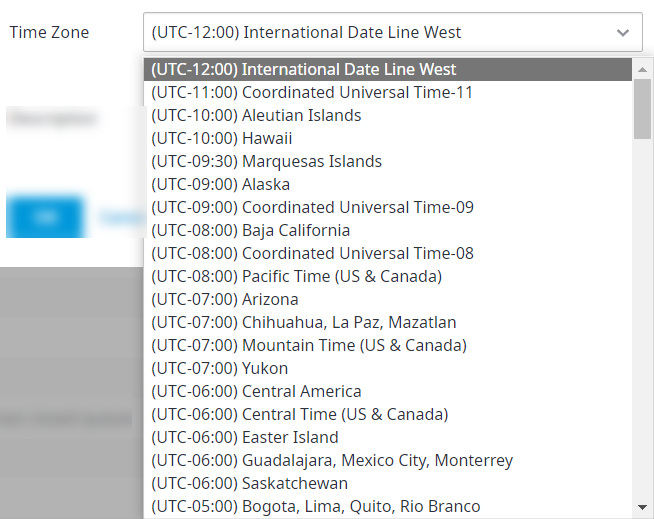
By default, the new schedule's time zone is the account time zone’s, but you can change it at any time. After selecting the time zone, you can proceed to set up the schedule (working hours) for each day of the week, as described in Editing an Existing Working Hours Schedule. The time will be resolved according to the selected time zone.
Example: Suppose you set up a schedule for Monday to Friday, 8AM - 5PM, EST. When the time zone is changed to PST for an office in the US west coast, the schedule will be adjusted to Monday to Friday, 8AM - 5PM, PST.
NOTE: Each schedule has its own individual time zone setting. - Description: Enter a description for the new schedule.
- Click OK. The new schedule is added with a status of Not in use. The schedule will change status
- to In use once you assign it
- to a queue

- or IVR, as described in Assigning Schedules to Queues and to IVRs.