...
- Change the Destination to IVR and click on one of the Available IVRs. Leave the For data collection purposes checkbox unchecked.
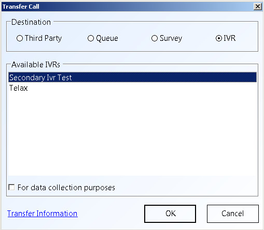
Note: If there are no available IVRs then only three Destinations would be available to transfer to. There must be an available IVR in order to transfer the call to an IVR. - The Transfer Information dialog box opens, complete all fields and click OK.
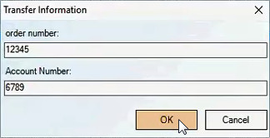
Note: To ensure transfer information is entered, select the Information is mandatory in order to complete transfers option from the Client Admin Portal Transfer Information Configuration page. - From the Transfer Call dialog box click OK. Your connection with the caller will end and your CCA will enter wrapWrap-up mode.
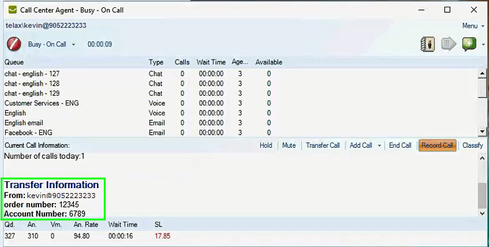
- Once a call arrives to the IVR from the transfer, the IVR automatically knows the relationship of that transferred call and the data sent and, in turn, could retrieve that data for use in the application as designed if assigned to do so. If there is a need for the caller to speak to an agent again, the IVR transfers the caller to a queue and presents the pertinent information to the agent selected by the queue (see screenshot on next page)