...
1. Select the campaign that you wish to add contacts to, and click the Edit icon, located to the right of the campaign name.
...
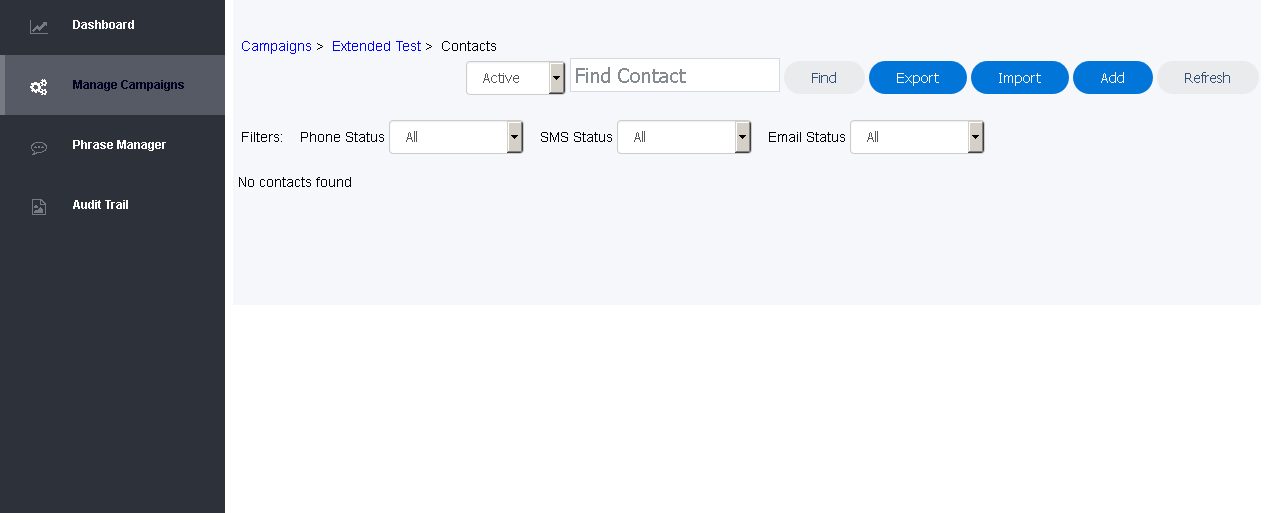
2. From the breadcrumb navigation, click Contacts. 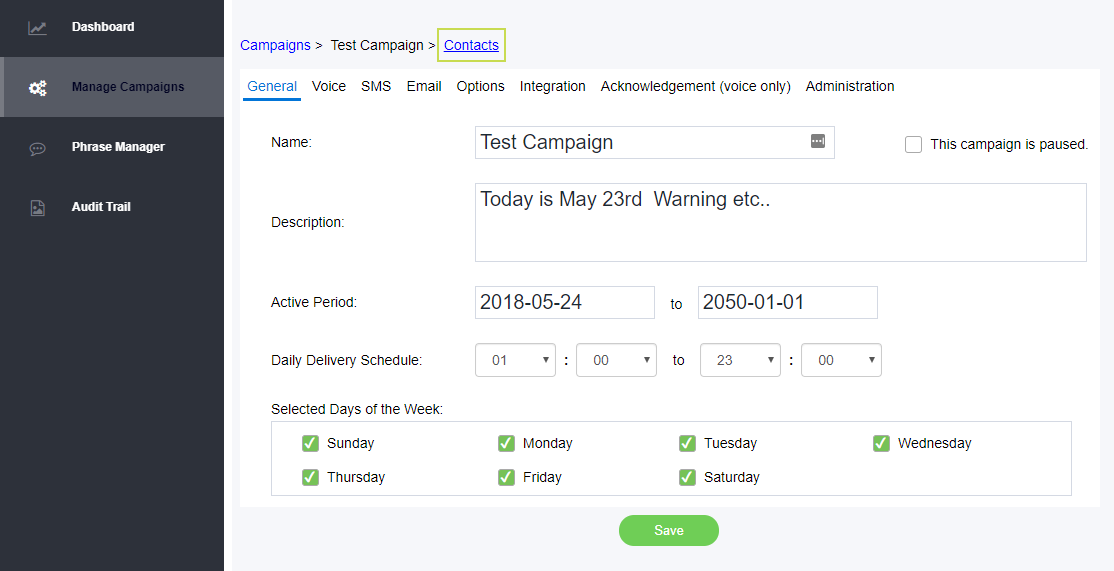
...
3. Once you click on contacts, you will be presented with the following screen. Note that you can return to either Campaigns (the full list of all your campaigns) or to QA Send Campaign to CCA (the current campaign) using the breadcrumb navigation in the top left corner.
Click Add in the top right corner to start adding contacts. The Add Contact dialogue box will open.
...
4. When the dialog box Add Contact opens, you will be presented with the following screen:
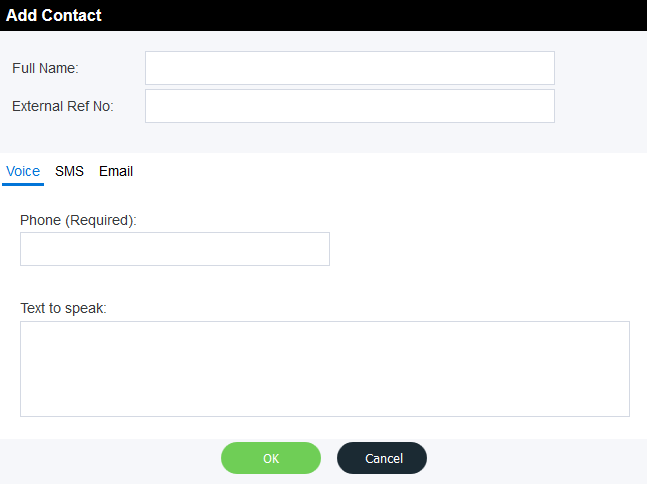
The dialogue box automatically opens on the Voice tab. Fill in any necessary information pertinent to your notification campaign. If you are using more than one delivery medium for your campaign, click on the appropriate tabs to fill in the necessary information.
- Full Name – Enter the full name of the contact.
- External Ref No: – Enter an external reference number that is unique to that contact, if desired.
- Voice tab
- Phone – Enter the phone number for the contact. Note: You must enter a "1" in front of the phone number in order for the number to work.
- Text to speak – Optionally, you may enter any text you wish to be spoken when the notification is delivered in this field. Any text entered here will override the text entered when initially setting up the campaign. Note: If you are creating a Voice Recording campaign, any text added in this field will be ignored, and the voice recordings will be used.
- SMS tab
- SMS – Enter the SMS number for the contact. You still need to input a number in the SMS field if the number is the same as the Phone number if you want SMS messages to be delivered to the contact.
- Text to SMS – Optionally, you may enter any text you wish to be seen when the notification is delivered in this field. Any text entered here will override the text entered when initially setting up the campaign.
- Email tab
- Email – Enter the email address for the contact.
- Text to email – Optionally, you may enter any text you wish to be seen when the notification is delivered in this field. Any text entered here will override the text entered when initially setting up the campaign.
...
If your campaign is live and unpaused, once you have clicked OK, you will be presented with a screen of your campaign contacts and be able to see the status of each delivery method that was enabled for each contact.
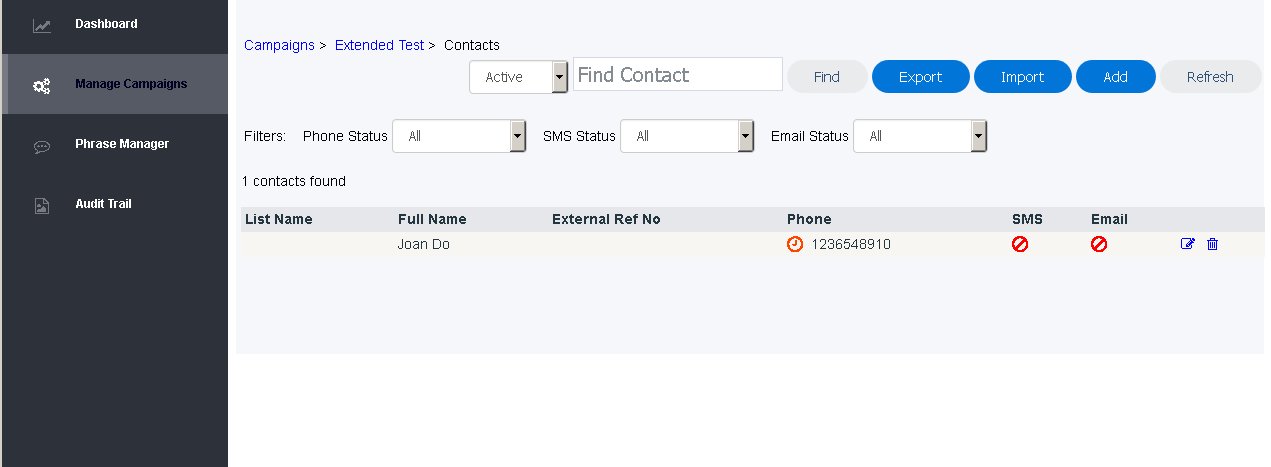
In the above example, the campaign is delivering Phone only not SMS or Email notifications.
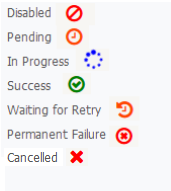
The various symbols represent the following statuses:
To search for a specific contact, please see Find a Contact.