...
- Click Add Call, located on the middle bar.
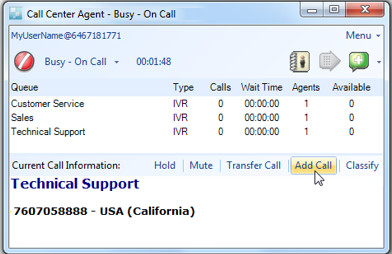
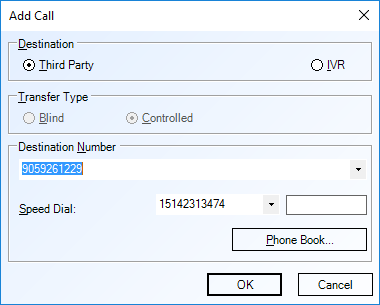
- The Add Call window opens.
- To add a 3rd party to the call, enter the phone number in the Destination Number field. Alternatively, you may use the drop down menu on the right to select a number that has been previously entered OR select a number from the phone book.
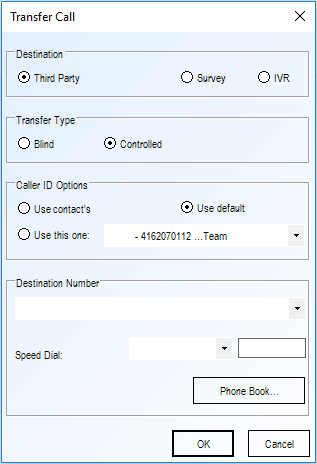
- The CCA allows you to choose which Caller ID the receiving party of the call will see. This may make it more likely that the party receiving the transferred call will pick up.Select the Destination and Transfer Type of the call as desired. After that you can select the Caller ID Options which are as follows:
- Use contact's - This will show the called or calling participant's caller ID to the party receiving the transferred call.
- Use default - This will show the default caller ID for the account. Specific caller IDs can also be created for each individual team, so if those have been enabled for the team the agent belongs to, that will override the default for the account and what the party receiving the call will see.
- Use this one - Real DNIS numbers, as well as any other that the service provider has included will be available from this drop down menu. You may not add to this list, and only ones that appear from this menu are able to be selected.
Note: If you are doing a Blind Transfer Type, only Use contact's can be selected as the Caller ID.
From here, select the Destination Number that the call will be transferred to, and click OK. Now when that number receives the call, they will see the caller ID option that you selected.
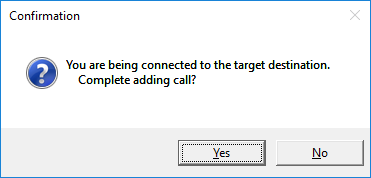
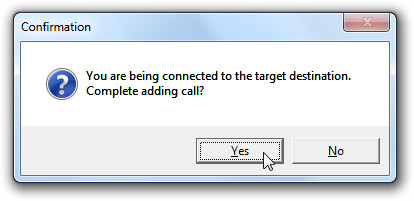
- When you are ready click OK and your primary caller will be put on hold with music. You will hear your destination number ringing and a Confirmation window will open.
- Only click Yes once you've spoken with the new party. After clicking Yes all parties will be connected.
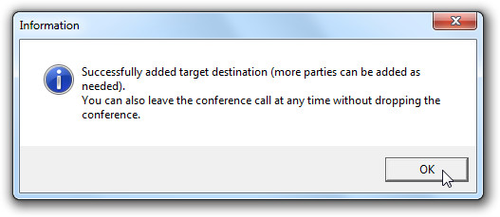
- An Information window notifies you when a successful connection is established.
- If you do not reach your party or you wish to cancel adding a call, click No on the Confirmation window to resume your current connection on hold.

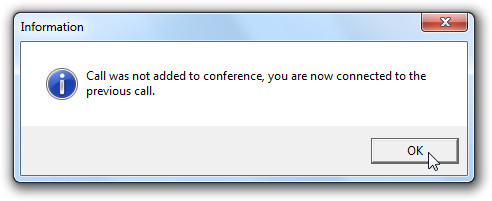
- An Information window will notify you that the call was not added.
- Once your 3-way conference has been established, your status, located in the Current Agent Status section of the Admin Portal Monitor page will read "On Call – Direct Call Transfer – 3-way conference".

- To add a Secondary IVR to the call, select the "IVR" radio button, and then select the IVR your wish to add into the call from the list of available IVR's (Note - your account must have a secondary IVR configured before the IVR button will appear to the agent when adding a call)
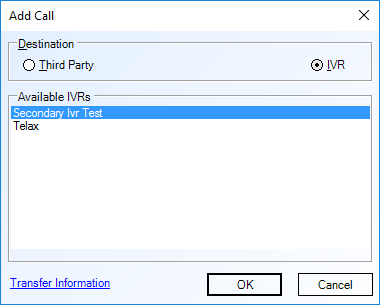
Note: If transfer Information is mandatory for your account for your agents to enter data before transferring, that rule will apply to adding a secondary IVR to your call. See how transfer information will appear to the agent here.
A confirmation dialog box will appear. Click Yes to complete adding the Secondary IVR to your call. Click No to cancel