The Create Task option in the Main Menu allows users to create tasks and route them to a specific queue.
...
- Select Menu > Create Task.
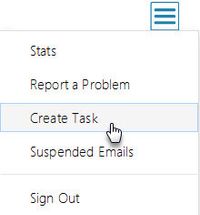
- The Create Task window opens.
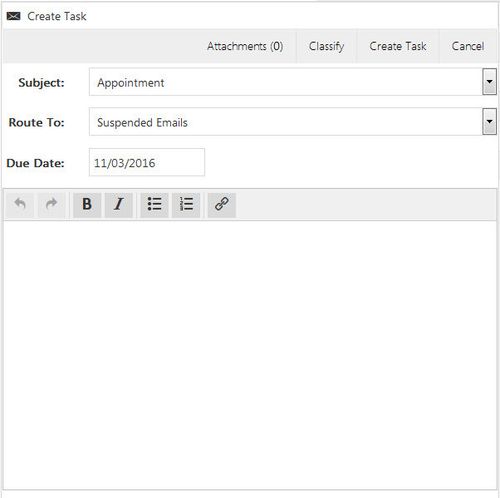
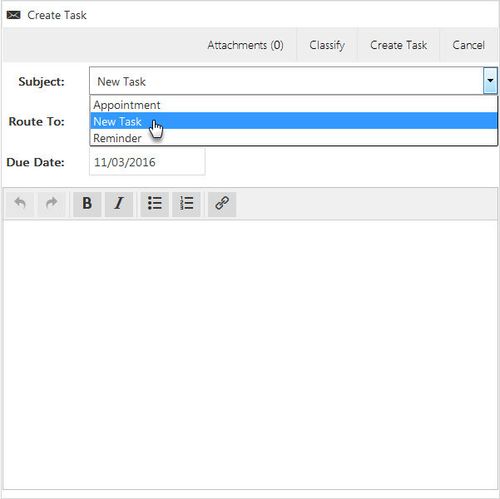
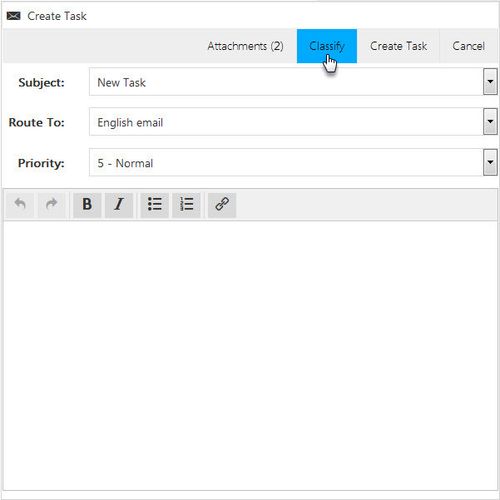
- From the Subject dropdown drop down menu, select the task subject.
- From the Route To dropdown drop down menu, select the destination for the task:
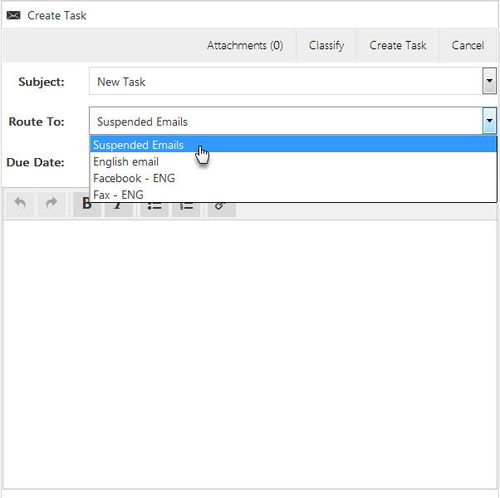
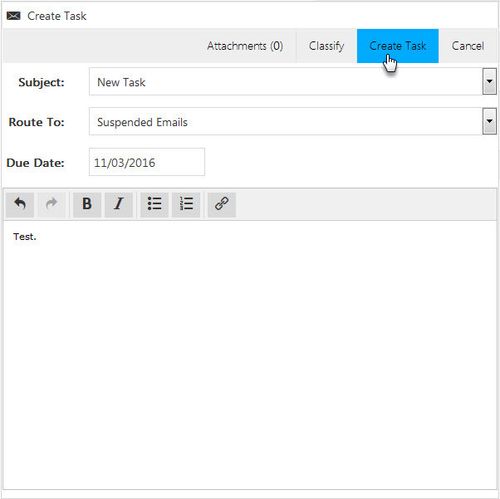
If Suspended Emails is selected from the Route To dropdown drop down menu, a due date must be provided. From the Due Date dropdown drop down menu, select a due date by which the suspended email must be answered by.
If a Queue is selected from the Route to dropdown drop down menu, a priority must be provided. From the Priority dropdown drop down menu, select a priority. Priority ranges from 1 to 10, where 1 is the highest priority.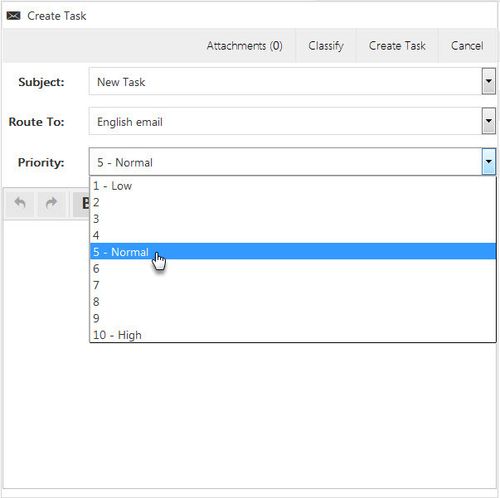
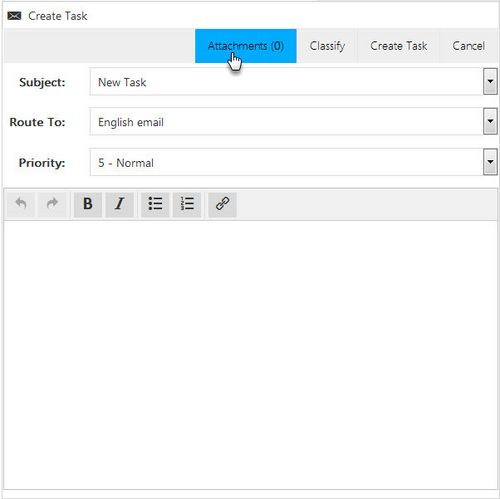
- If desired, attach a file to the task by clicking Attach File. The Attach File window opens, located ; locate the file, select it, and click Open to attach the file to the task. The attachment will appear in the bottom left corner of the Create Task window. Repeat for any additional attachments. If multiple attachments are added to the task, the number of attachments appears in the bottom left corner of the window (e.g. 3 attachments), along with the list of attachments.
The Attachments dialog box appears, click . Click Upload a file.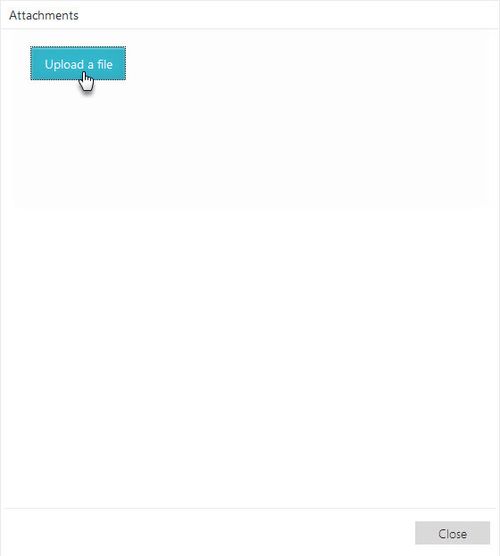
Navigate through your files and locate the file you wish to attach. Select the file and click Open.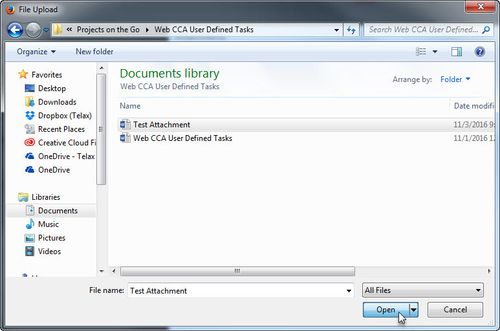
The attached file appears in the Attachments dialog box. Repeat the above steps to attach any other files to your task. Once all the desired files are selected, click Close to attach the files the task.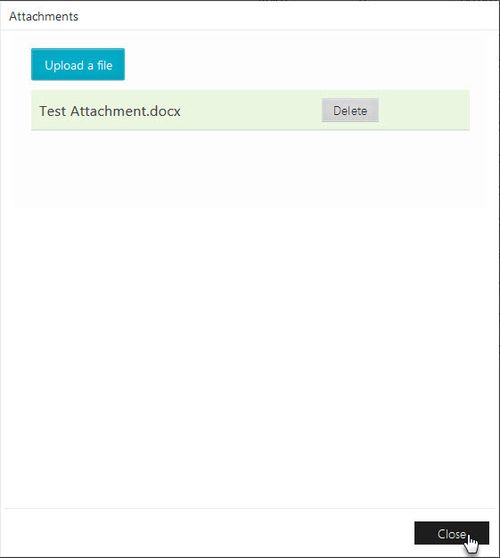
A number appears beside the Attachments button indicating how many files are attached to the new task (e.g. Attachments (2)).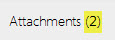
- If desired, you may classify the task by clicking Classify.
Complete all required Classification fields and click OK.
- If desired, enter any text in the body of the task.
- Once you are finished creating the task, click Create Task. The task is created and routed to the selected destination.
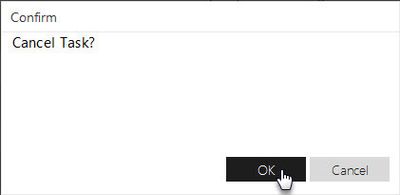
Note: To cancel a task, click Cancel. A warning message appears indicating the task will be cancelled/deleted if you proceed with the cancellation and will not be routed to the selected destination. Click Yes to cancel the task.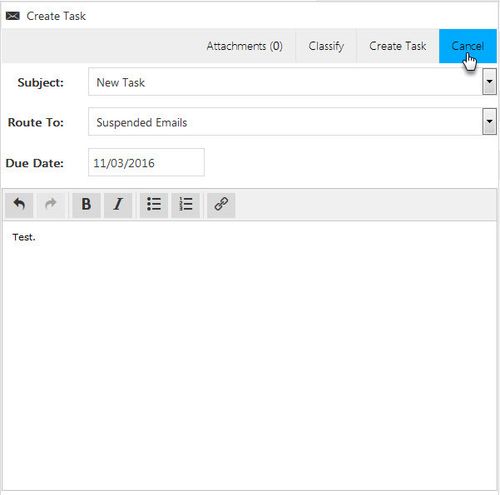
...