...
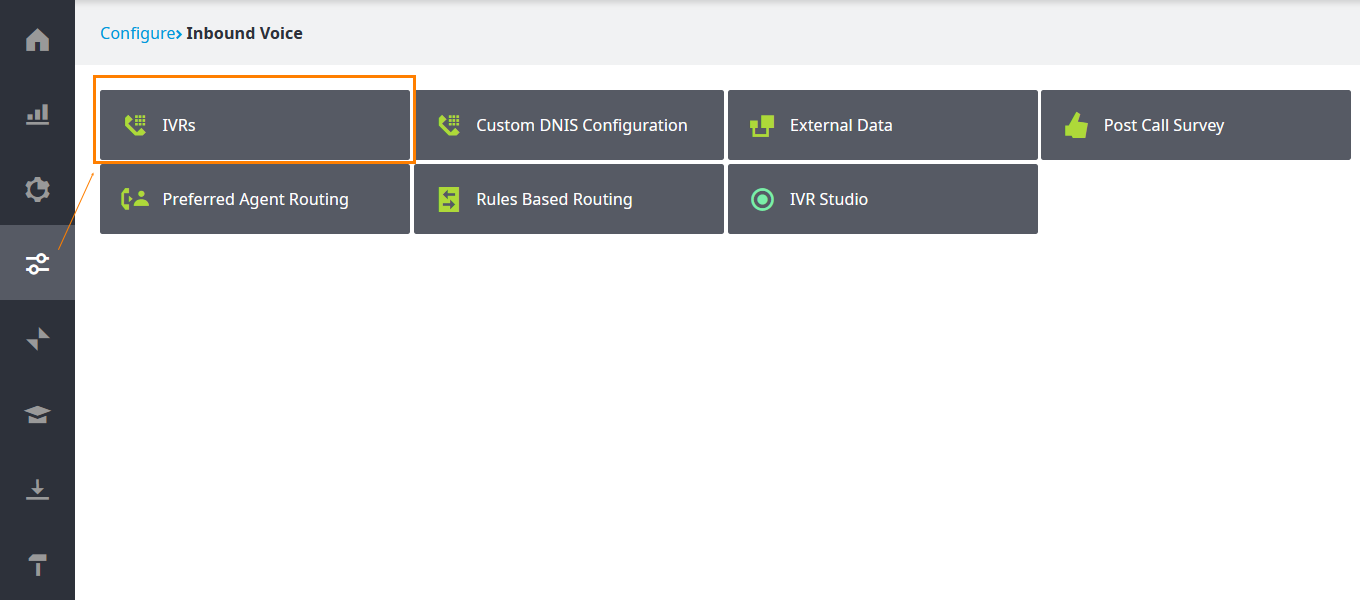
- After logging on to the Administrator Portal, click Configure > Inbound Voice > IVRs
- The Easy- IVR page appears.
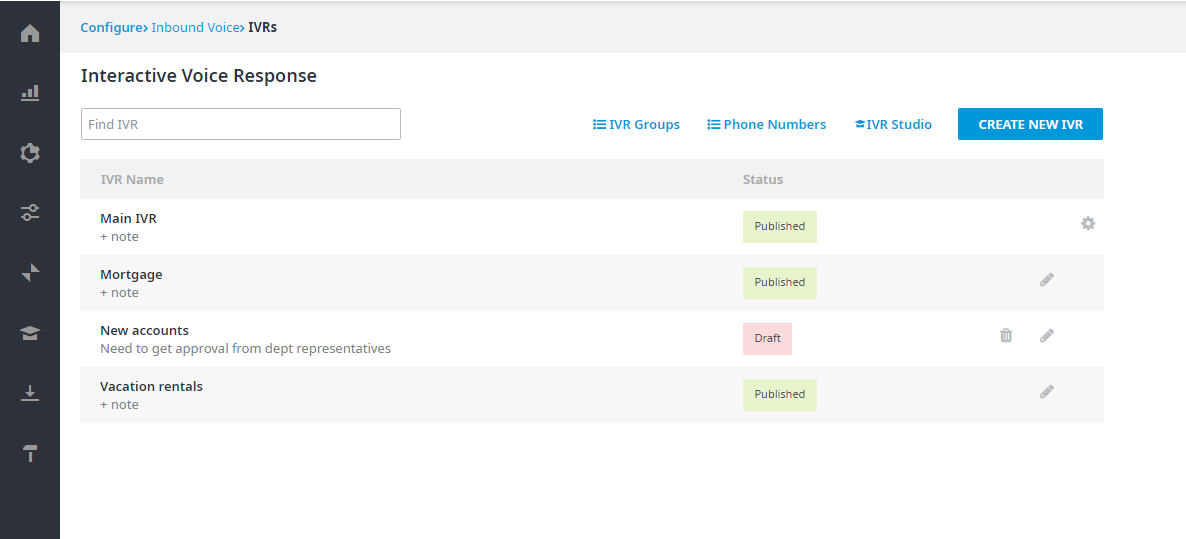
Use the IVR page to create a new Easy IVR, rename it, activate a bulletin for an IVR, or configure any customized settings implemented in your IVR, such as callbacks, call forwarding during after hours, and hours of operation for individual queues. You can also manage IVR groups and phone numbers.
...
- IVR Name: The name assigned to the IVR. Any notes pertaining to the IVR appear below the name. You can edit the notes by clicking the text of the notes directly and entering the new text. To edit the name of the IVR, click the edit icon ([ICON]
 ). To delete the IVR, click the delete icon ([ICON]
 ).
). - Active Bulletin: The bulletin associated with the IVR. To activate a different bulletin, select it from the list. For more information about bulletins, including how to create them, see Bulletins.
Important: Known Issue: If an IVR was created using the Easy IVR feature and end-user attempts to perform an action after playing the bulletin, such action will not be performed. In other words, Perform no additional action is the only working option for this type of IVR. - Status: The current status of the IVR—Published indicates that the IVR has been published. Draft indicates that the IVR has not been published, yet, and is in progress.
- Advanced Settings: Use it to configure items specific to your IVR, such as hours of operation for individual queues, call forwarding, and callbacks if any of these settings are applicable. Settings are created on a client-by-client basis and will only be visible if the functionality is required.
Important: This is only for IVRs created using IVR Studio.
Click the links below to learn more about how to perform the various activities.
...